In this part of the series, you will learn the ideas behind terrain generation. This is not a tutorial intended for generating a final product but is rather a guide as to how each part of the process is managed. However, you can follow these steps and generate your own terrain.
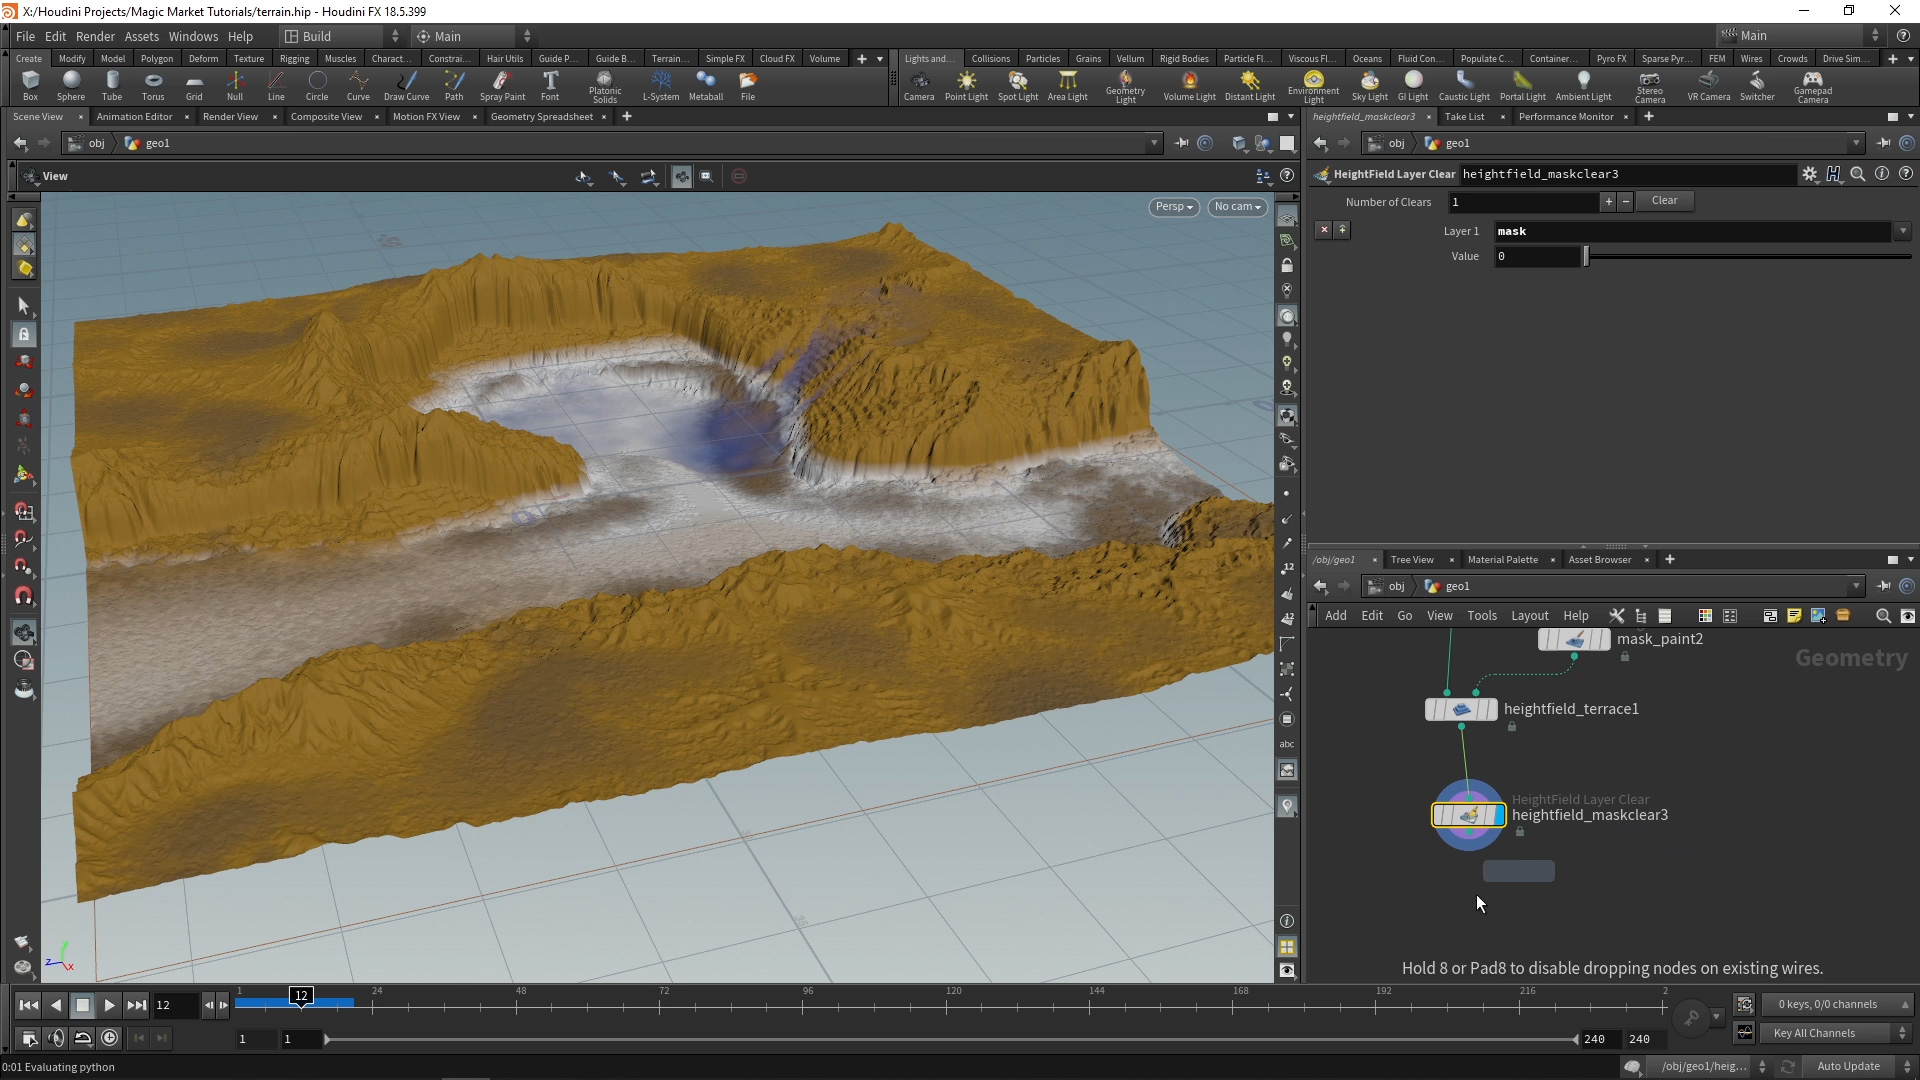
1 | Height Fields
In this part, you will learn how Height Fields are used to generate terrain in Houdini. Various tools are used to generate a terrain. As part of the process, you will learn how to project geometry onto a height field to get the general shape of a terrain as well as how to add layersof detail to the terrain.
Length: 24:04
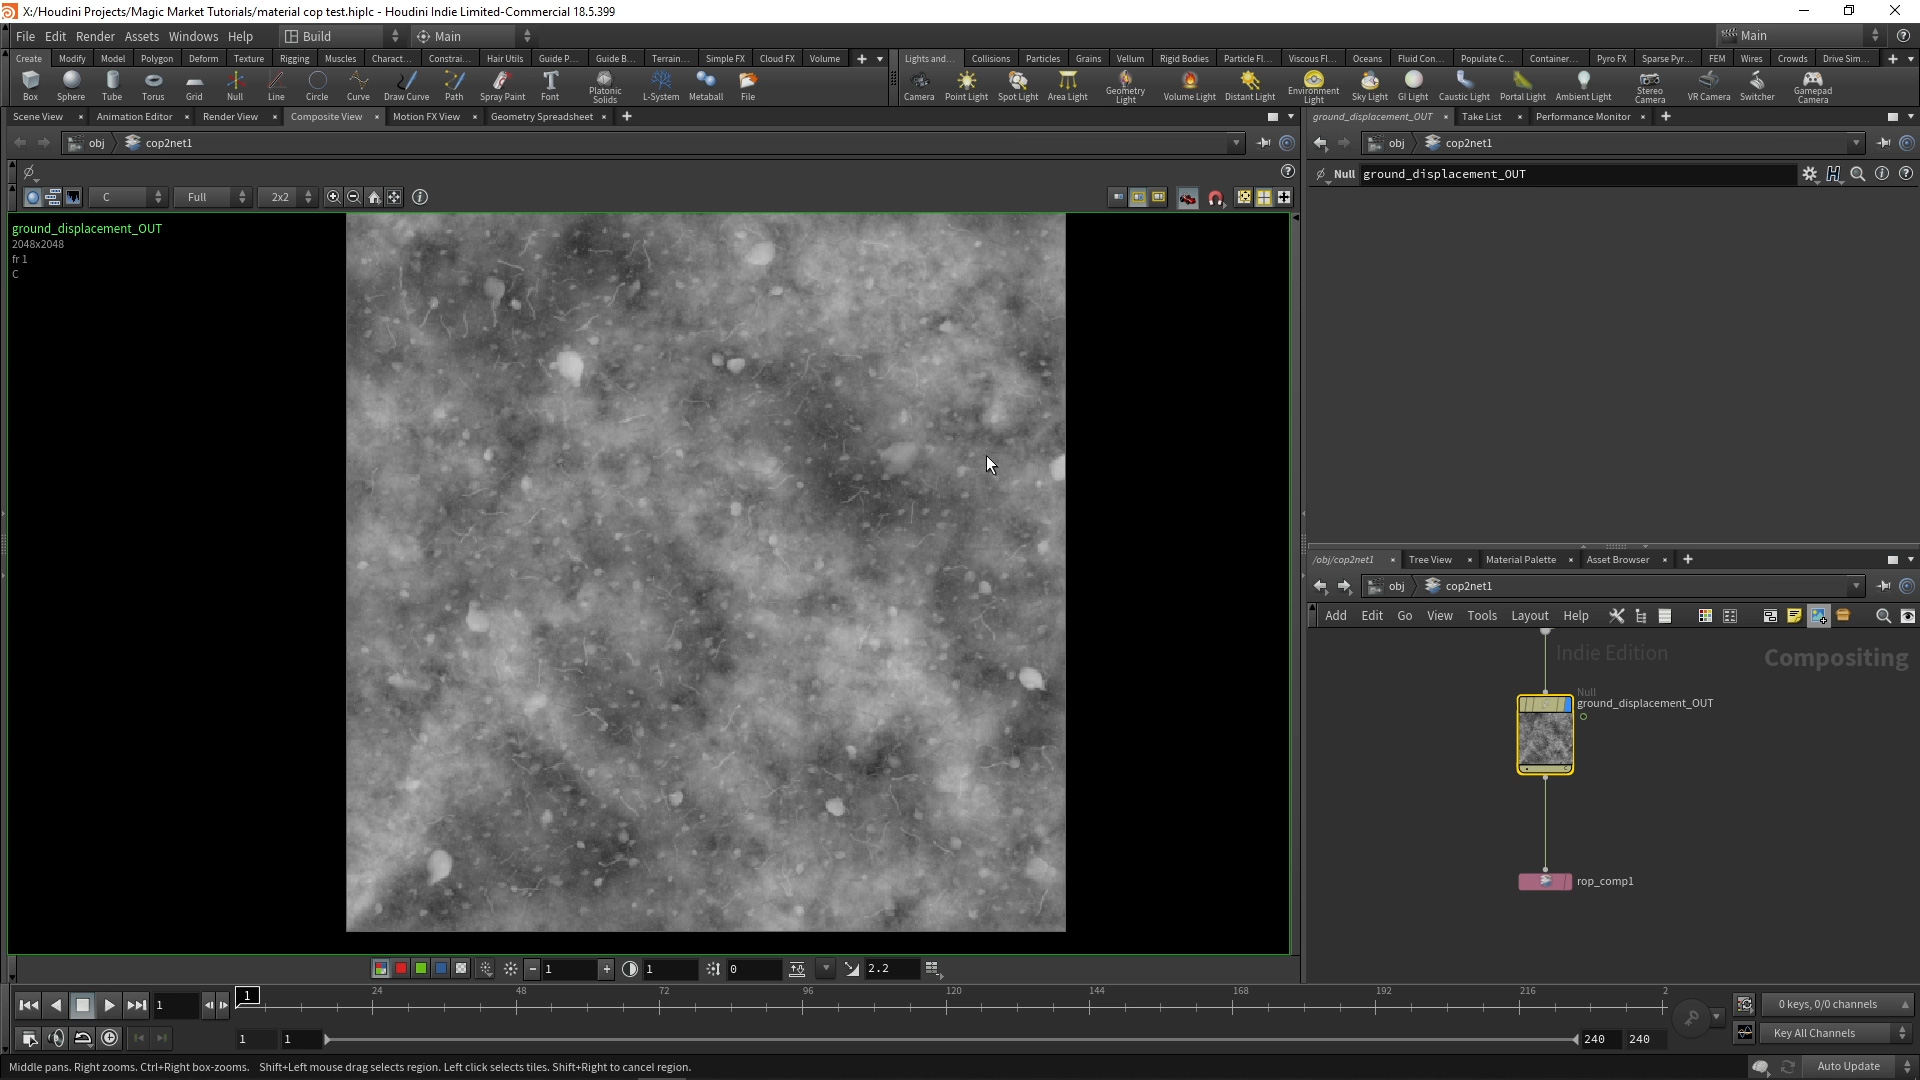
2 | COP Texturing
In this part, you will see the ideas behind creating textures in COPS. This is more of anoverview of the process rather than a tutorial. You will see how noises can be generated andcomposited to create detail in a texture. Furthermore, you will see how you can introducegeometry as images into your COP network using Height Fields.
Length: 10:45
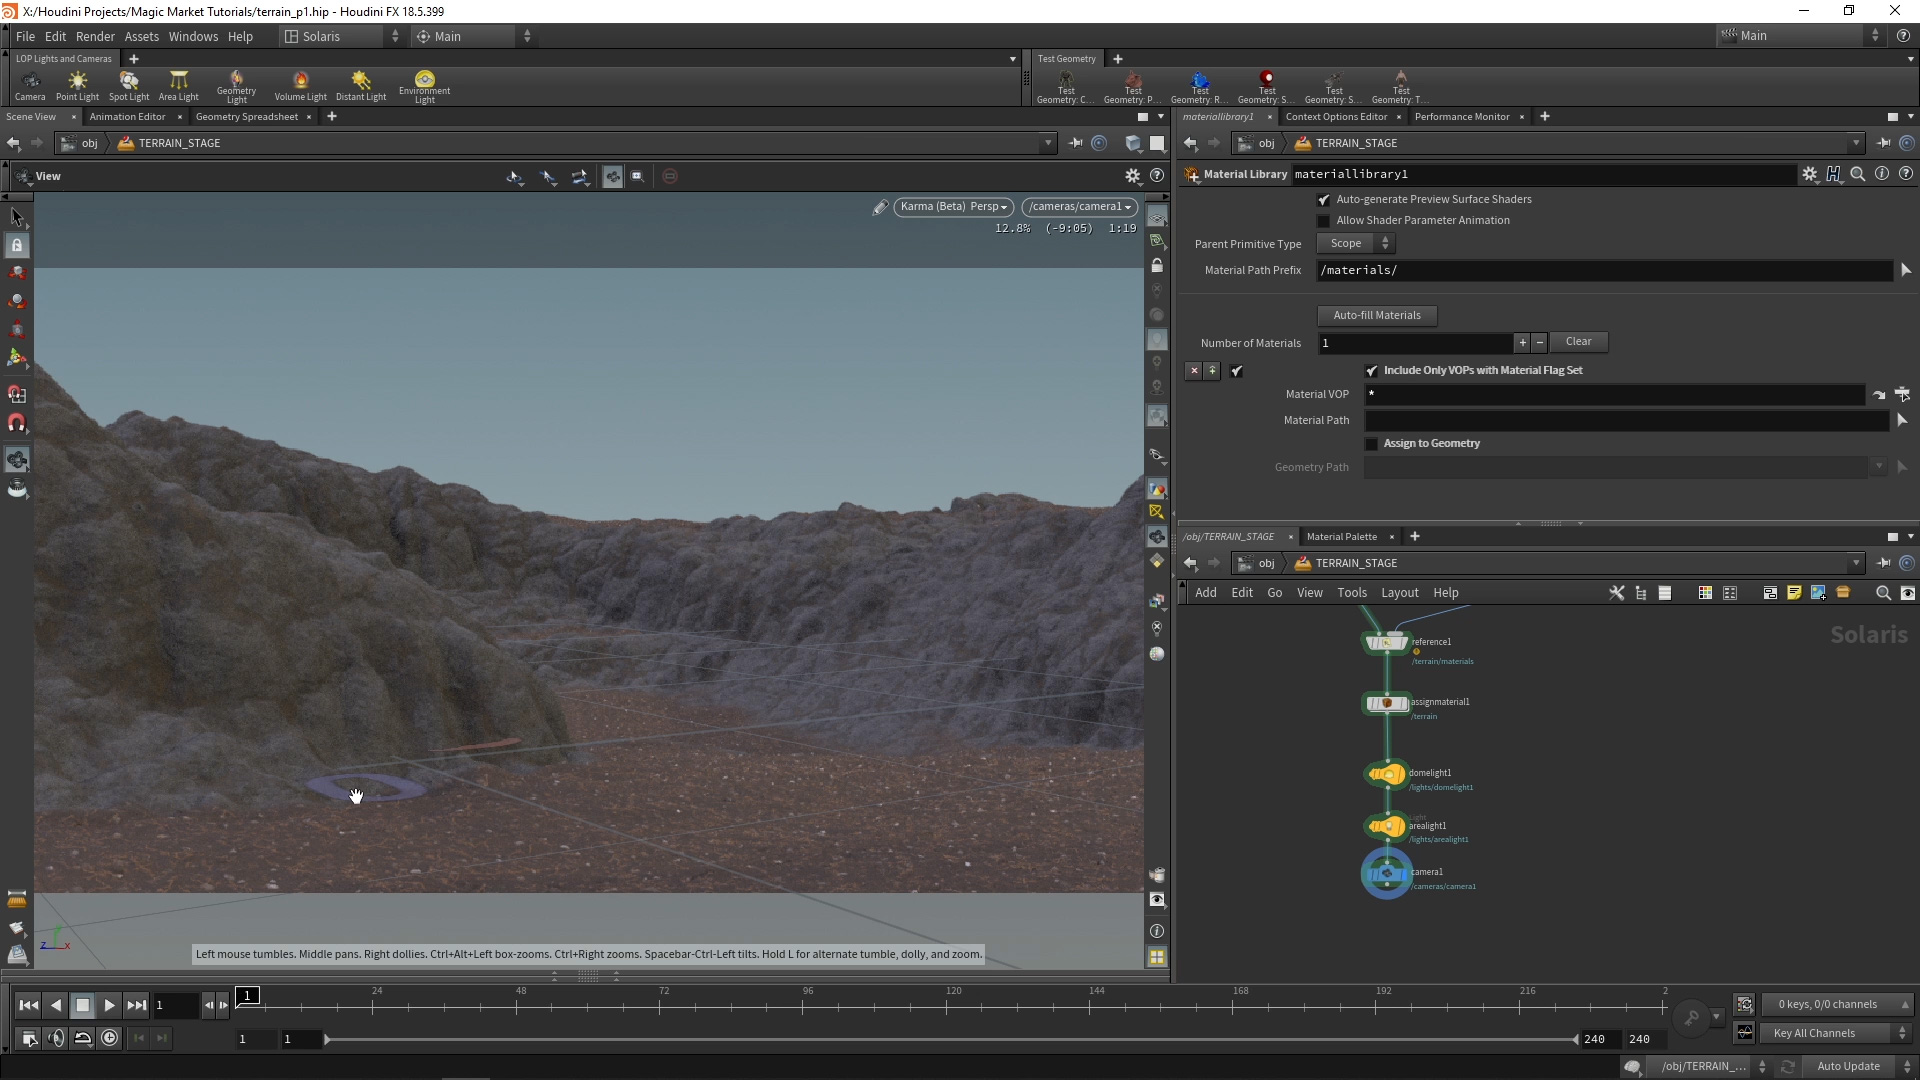
3 | Solaris Texturing
In this part, you will learn how to import a terrain into LOPS and apply a material to it. Additionally, you will learn how to use attributes to define which areas of a terrain shoulduse which texture. This is useful for defining cliffs, grassy areas, dry areas etc.
Length: 15:35
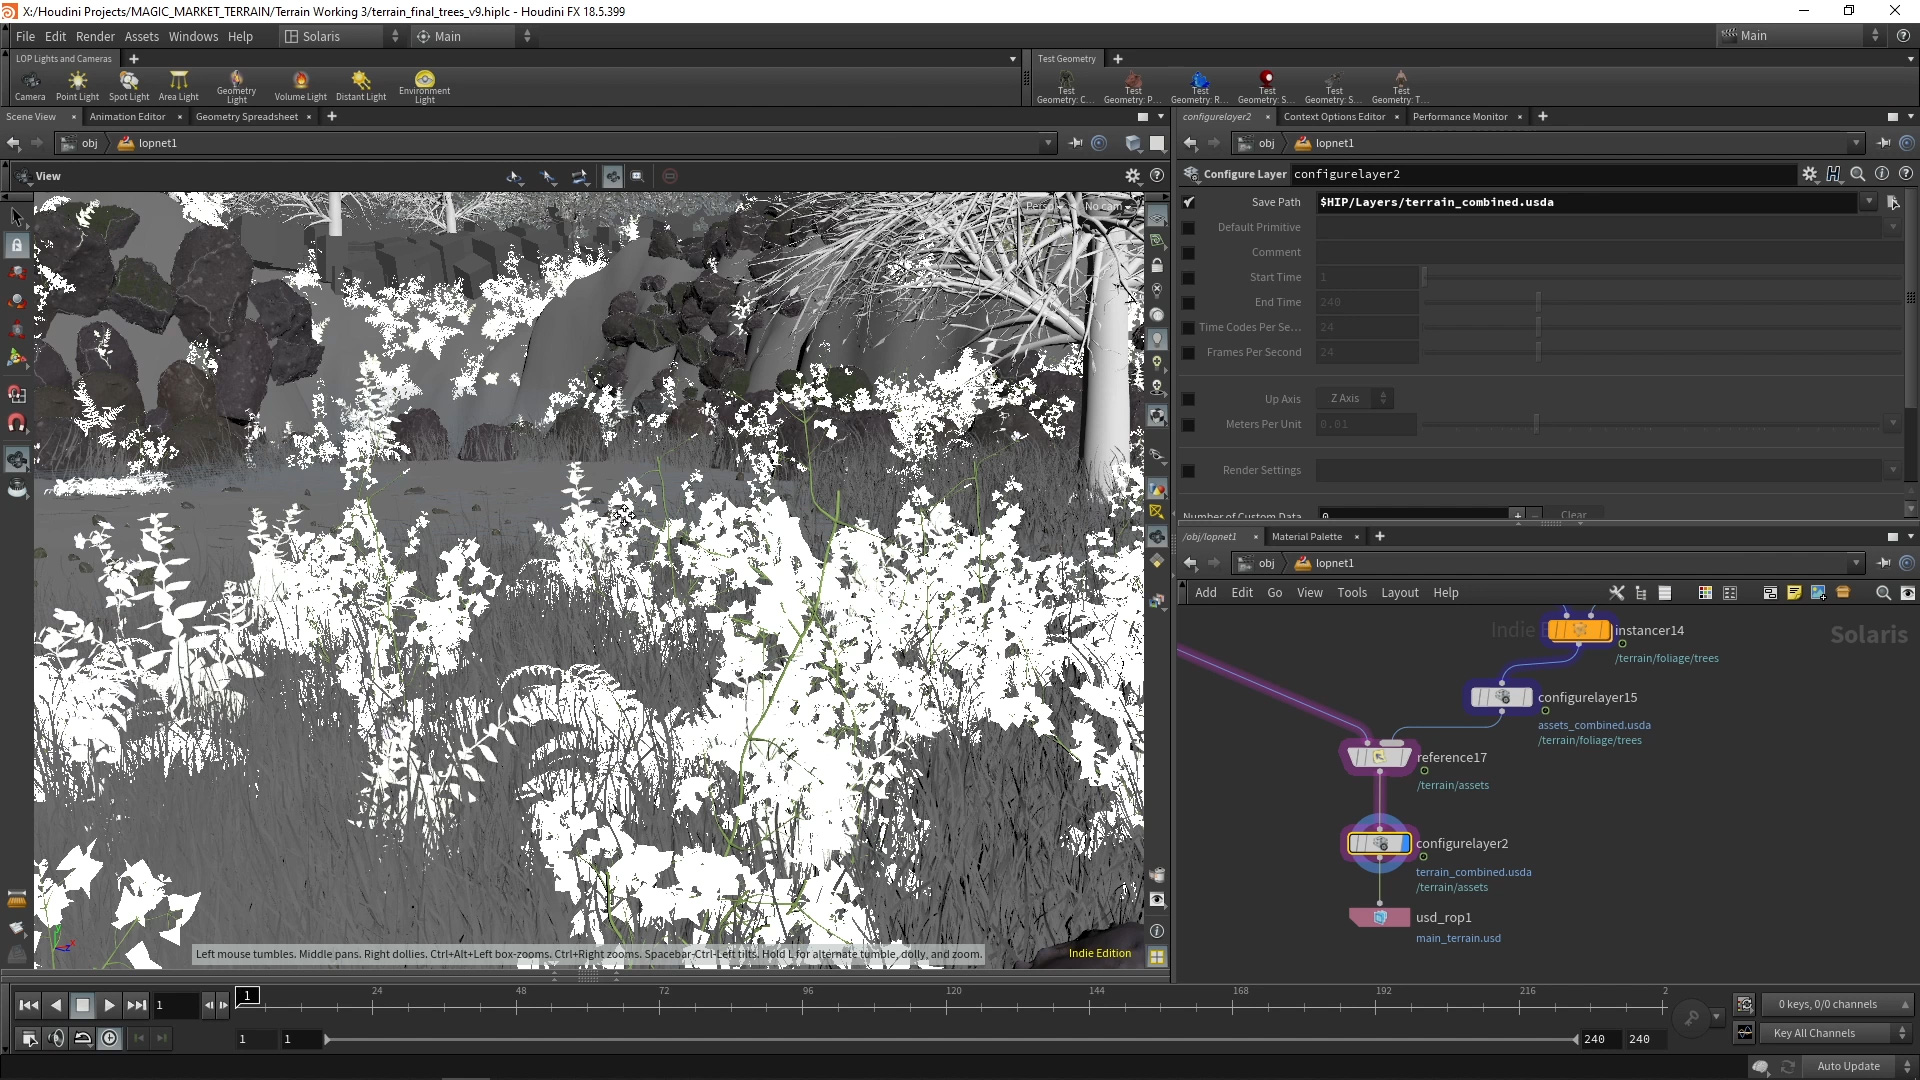
4 | Solaris Instancing
In this part, you will learn how to instance geometry onto a terrain in LOPS. This means generating scatter points using the new 'Scatter and Align' node. Using this node allows youto derive all necessary attributes for instancing. To properly instance geometry, you will need to create collections from USD assets. This will be covered as well.
Length: 15:06
CREATED BY

COMMENTS
LukeP 1 year, 9 months ago |
Any chance you could update this and the rocks assets for 20.5? :-)
Please log in to leave a comment.