PDG FOR INDIE GAMEDEV | SECTION 6 | PATHS & ROADS

1 | Introduction
In this new section we are going build up a basic path system to allow us to create paths for our level. We will begin by building the artist tool, then getting the paths imported into our TOP network, and finally get the path to interact and modify the terrain. We will also look at how to only update areas where elements have changed to speed up our TOP network and reduce the amount of work items we have to re-cook.
2 | Developing the Area HDA
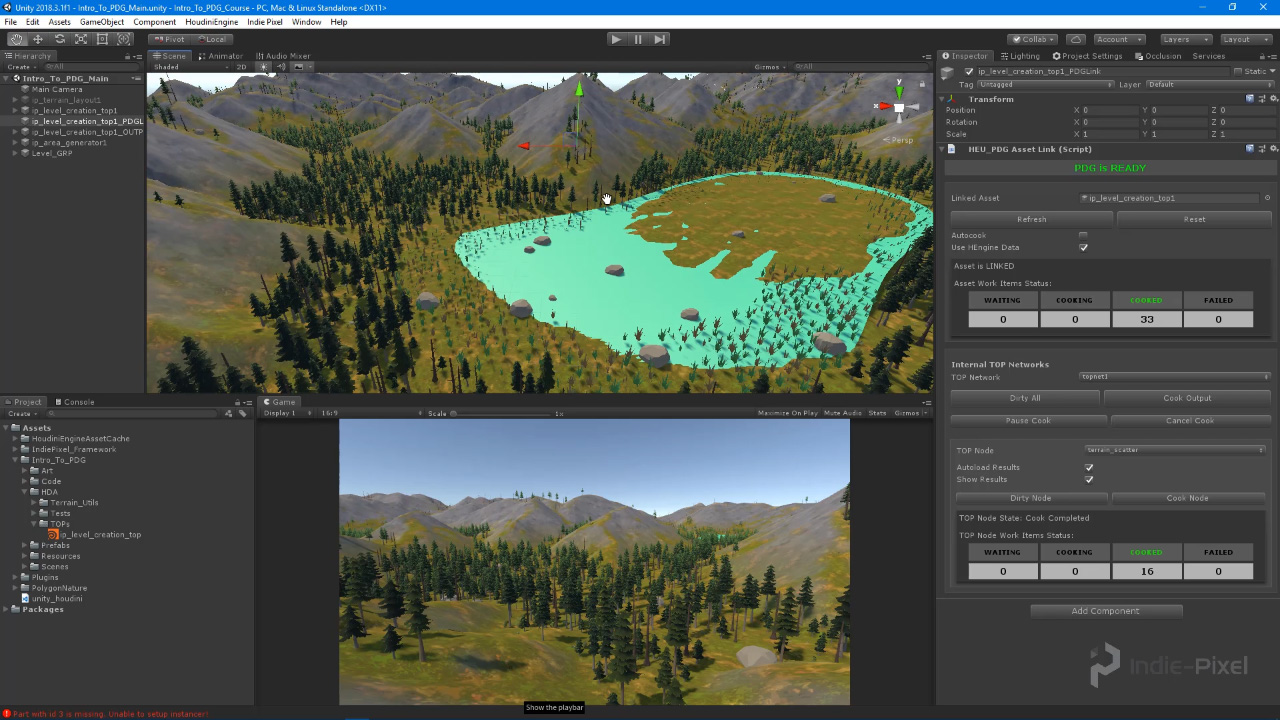
One of the features to the PDG Asset Link in Unity is the ability to filter out the nodes we want to interact with in our TOP Network. By default all nodes, in your TOP network are exposed which can get messy fast. We really want the ability to filter out the ones that are important to us and also choose which nodes load their resulting geometry into the Unity scene. The HEngineData attribute will do this for us.
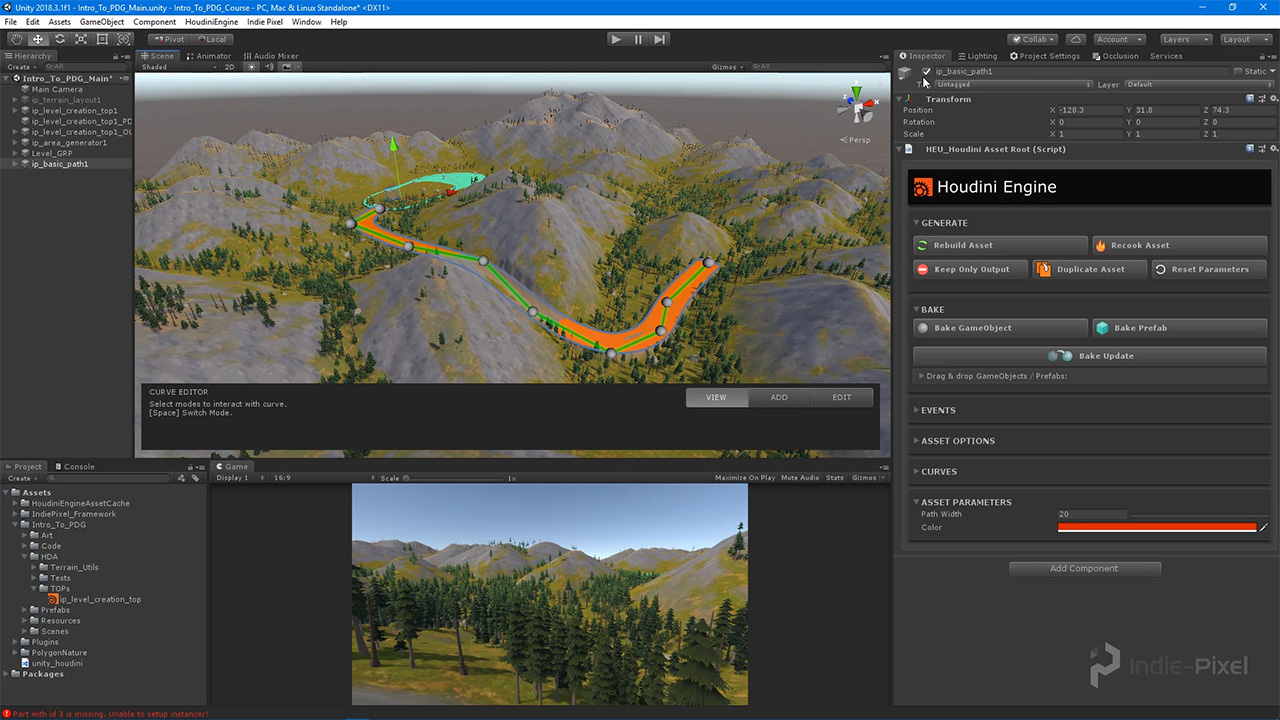
3 | Developing the Path HDA
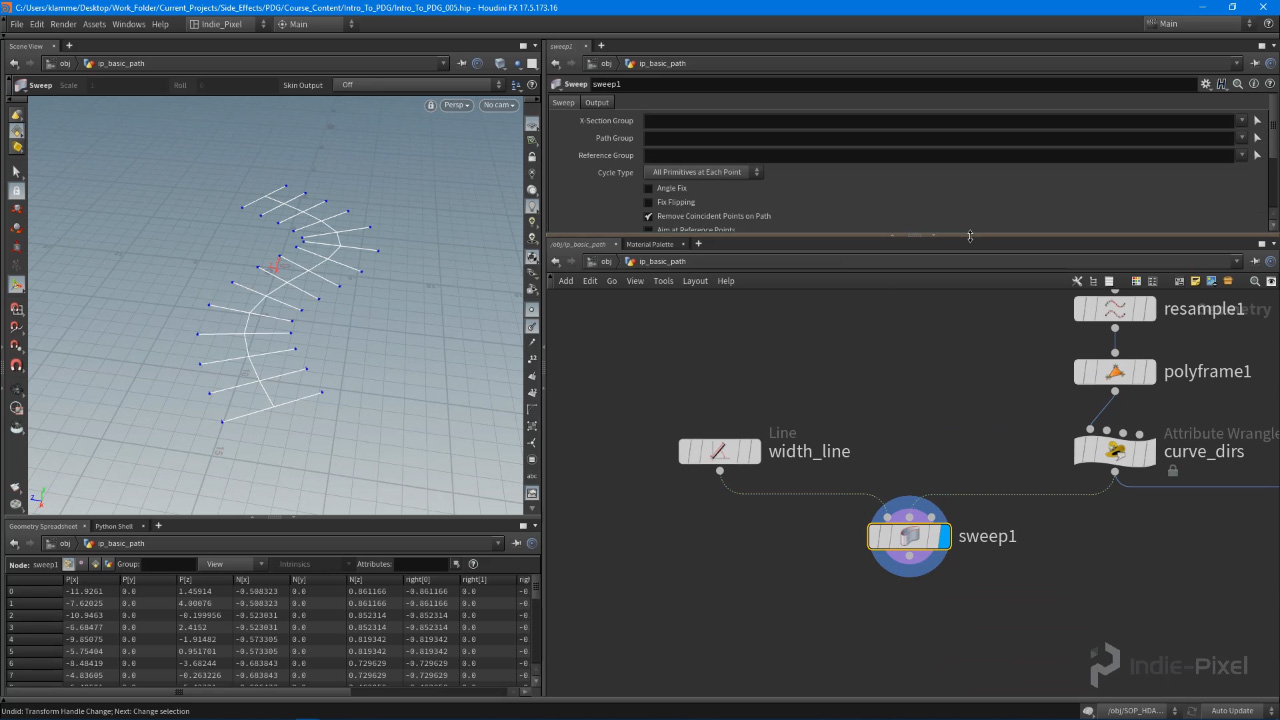
To get our paths started we need to provide a way for artists to provide where the path should be. So we need to create a small HDA that will give the level designers this ability. In this lecture we will build the Path HDA that we will use to lay out paths in our Unity level.
4 | Testing the Path Tool in Unity
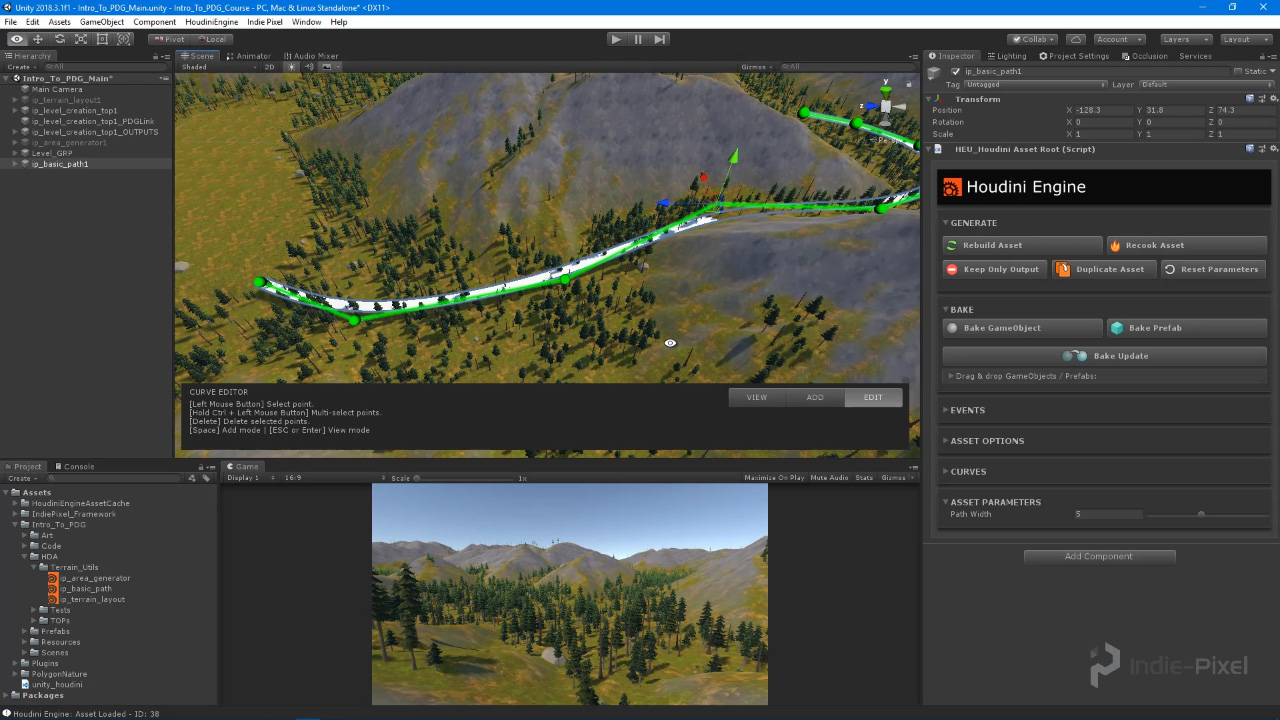
With the Path tool created let’s take a bit to test it out in Unity. I always do this before moving forward because I need to make sure there are any errors or rendering issues for the artists. I also like to test the usability as a tool that is hard to use isn’t going to be used by artists.

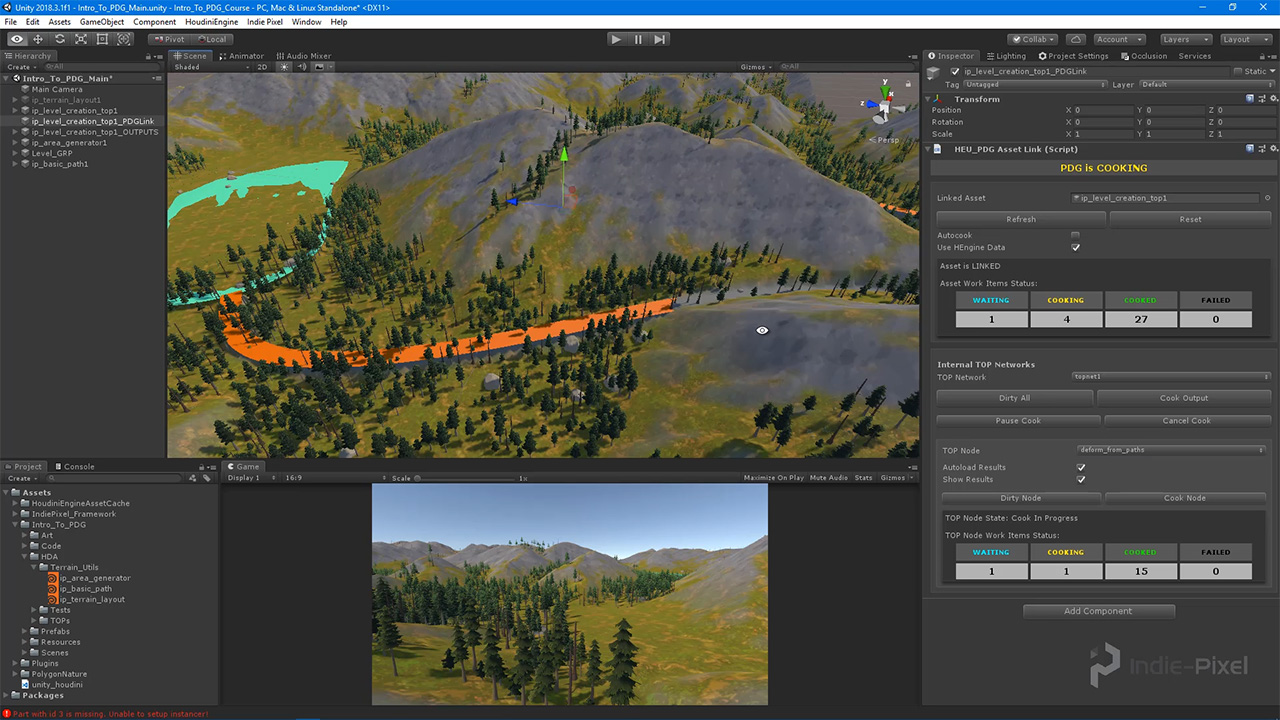
5 | Importing the Paths into TOPS
Ok, now we will turn our focus to the TOP network and how we get all the paths we have in the scene into our network. This requires a bit of work to get an “X” amount of paths into our TOPs networks but once you see the pattern and the setup up, it opens up tons of possibilities for other types of Artist input.
6 | Deforming the Terrain with Paths
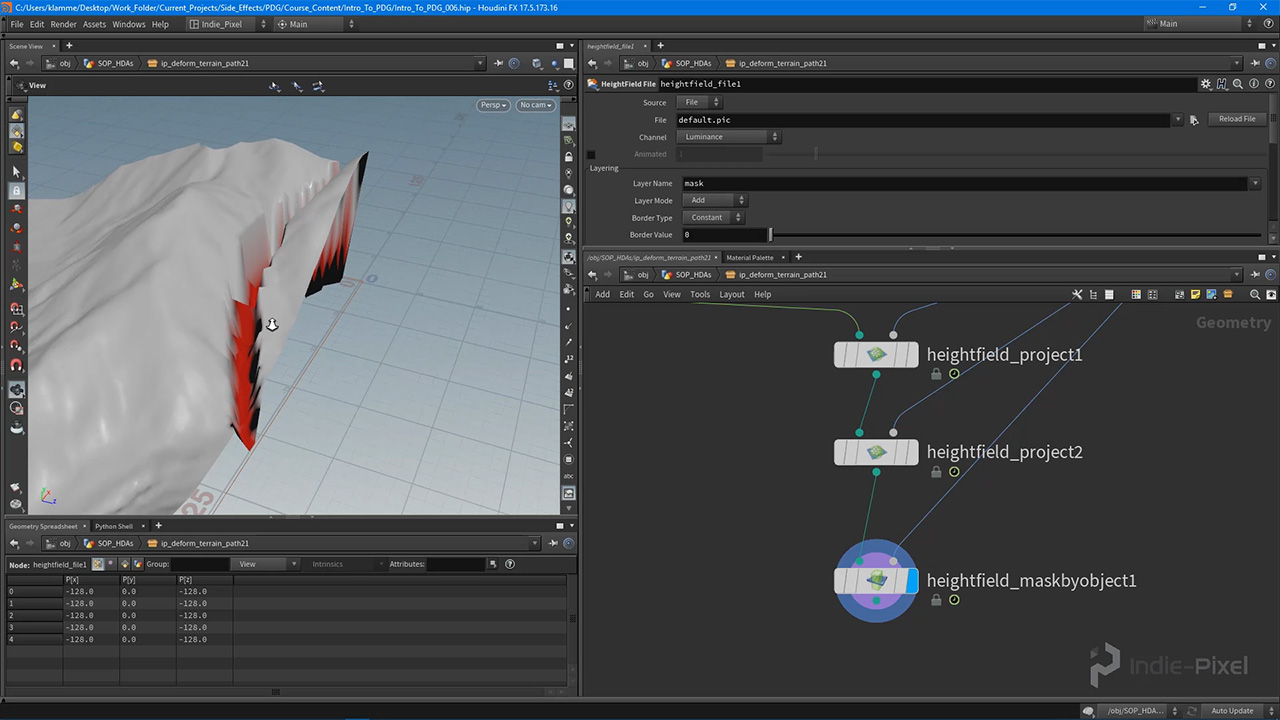
With the ability to import all the path geometry into our TOP network, let’s take a look at how we begin to use that geometry to modify our terrain. In this lecture we will focus on deforming the terrain the its flattened underneath the path.
7 | Testing Path Deformation in Unity
As with any of our work, we need to test it to make sure it is working properly before we let it out into production. Let’s test out the importing of the paths into our TOP Network.
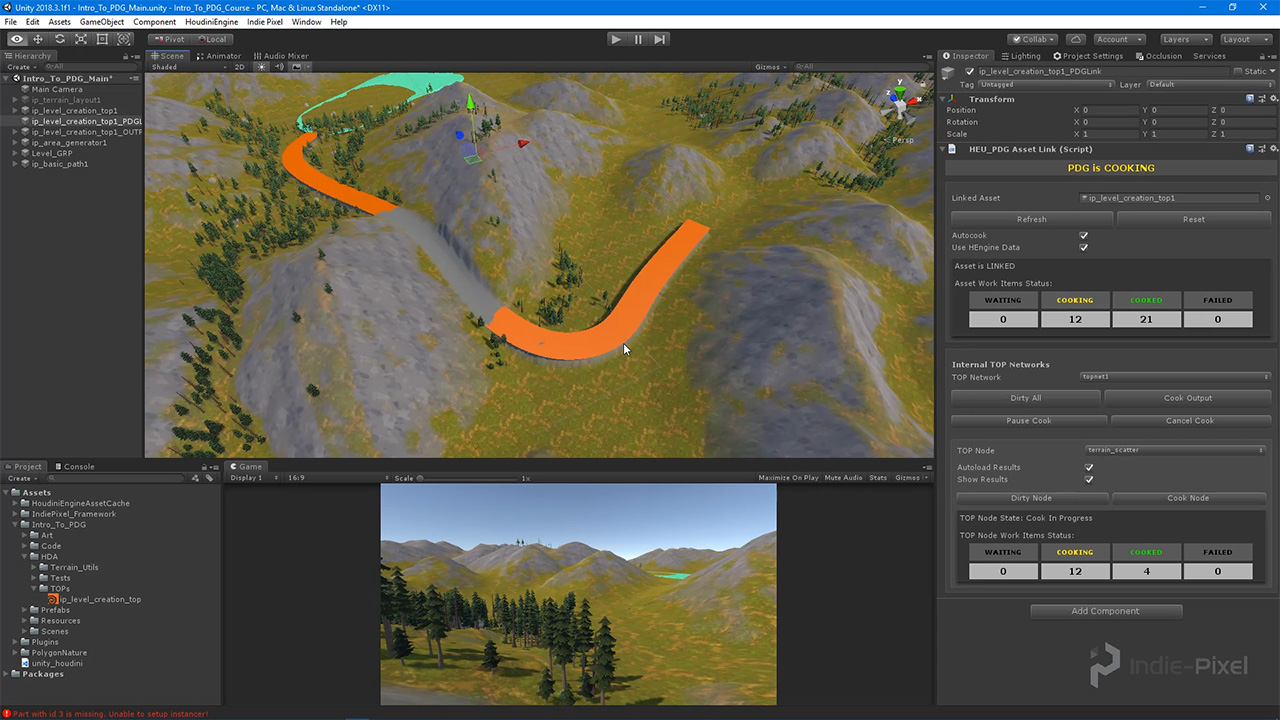
8 | Clear Foliage with Paths
Now let’s turn our attention over to the foliage that is intersecting with the Path. We want to remove any of the foliage where the path is and possibly replace it with other type of foliage. In this lecture we are going to focus on just removing it.
9 | Texturing the Terrain with the Paths
As a final step let’s texture the terrain now with the path geometry. This will complete our path tool and complete the overall level system for this course.

10 | Conclusion
Well there we go! We have a full Procedural Terrain system using TOPs and PDG. I hope you all found this course informative and helped you along with your PDG learning! Do let us know if there are any questions and we will try our best to answer as quickly as possible! Thanks again!
CREATED BY

COMMENTS
Brundlethwaite 7 years, 3 months ago |
Thanks for the excellent tutorials.
A small note: The mask is missing from the hightfield because it was deleted using the blast nodes after the Texturing. It should not have been deleted as the masks interfering with the textures were the ones generated by the erosion.
pryzthawiz 7 years, 2 months ago |
Tutorials were great until i hit the point i couldn't continue because i was using Houdini Apprentice version. This should be made very clear at the start- this just wasted 3 hrs of my work day.
pryzthawiz 7 years, 2 months ago |
I now see it was mentioned at the start , i just missed it - sigh.
Higashibashi 7 years, 1 month ago |
For some reason when I recook the area on the basic heightfield it leaves the preview cooked terrain deformation in place, even with dirtying and removing all the bgeo files from the folder.
Higashibashi 7 years ago |
NVM worked it out. The Area Generator mesh won't update to the latest positioning on the map if I don't go into edit mode and out again. Might also work if you hit rebuild each time on the area gen.
arash-bahrehmand 6 years, 10 months ago |
Hi,
Already followed your tutorial (good job :) ) and everything looks working fine. When the curve shape is changed all the tiles that include the curve asset are recooked. Now, I would like to go one step further, and ONLY recook tiles including changed parts of the curve. I tried to use curve slicer hda, like attached screenshot but still since by changing the curve all curve splicer input data is invalidated, all the tiles including curve are recalculated.
Here ( https://www.sidefx.com/forum/topic/68766/ ), I added a new post (with an screenshot attached to it) about this issue.
javadgholami1369 6 years ago |
I'm really curious about that is how to make seamless terrain for big map environment ( like so we have a map with the size of 48 km * 48 km
I see in one the Houdini showcase ( https://www.youtube.com/watch?v=NfizT369g60&t=707s) for the FarCry game (in the 5:00)
I don't understand what they do so the terrain intersection match together so please tell me ( if anyone know) how I can make this kind of feature
Please log in to leave a comment.