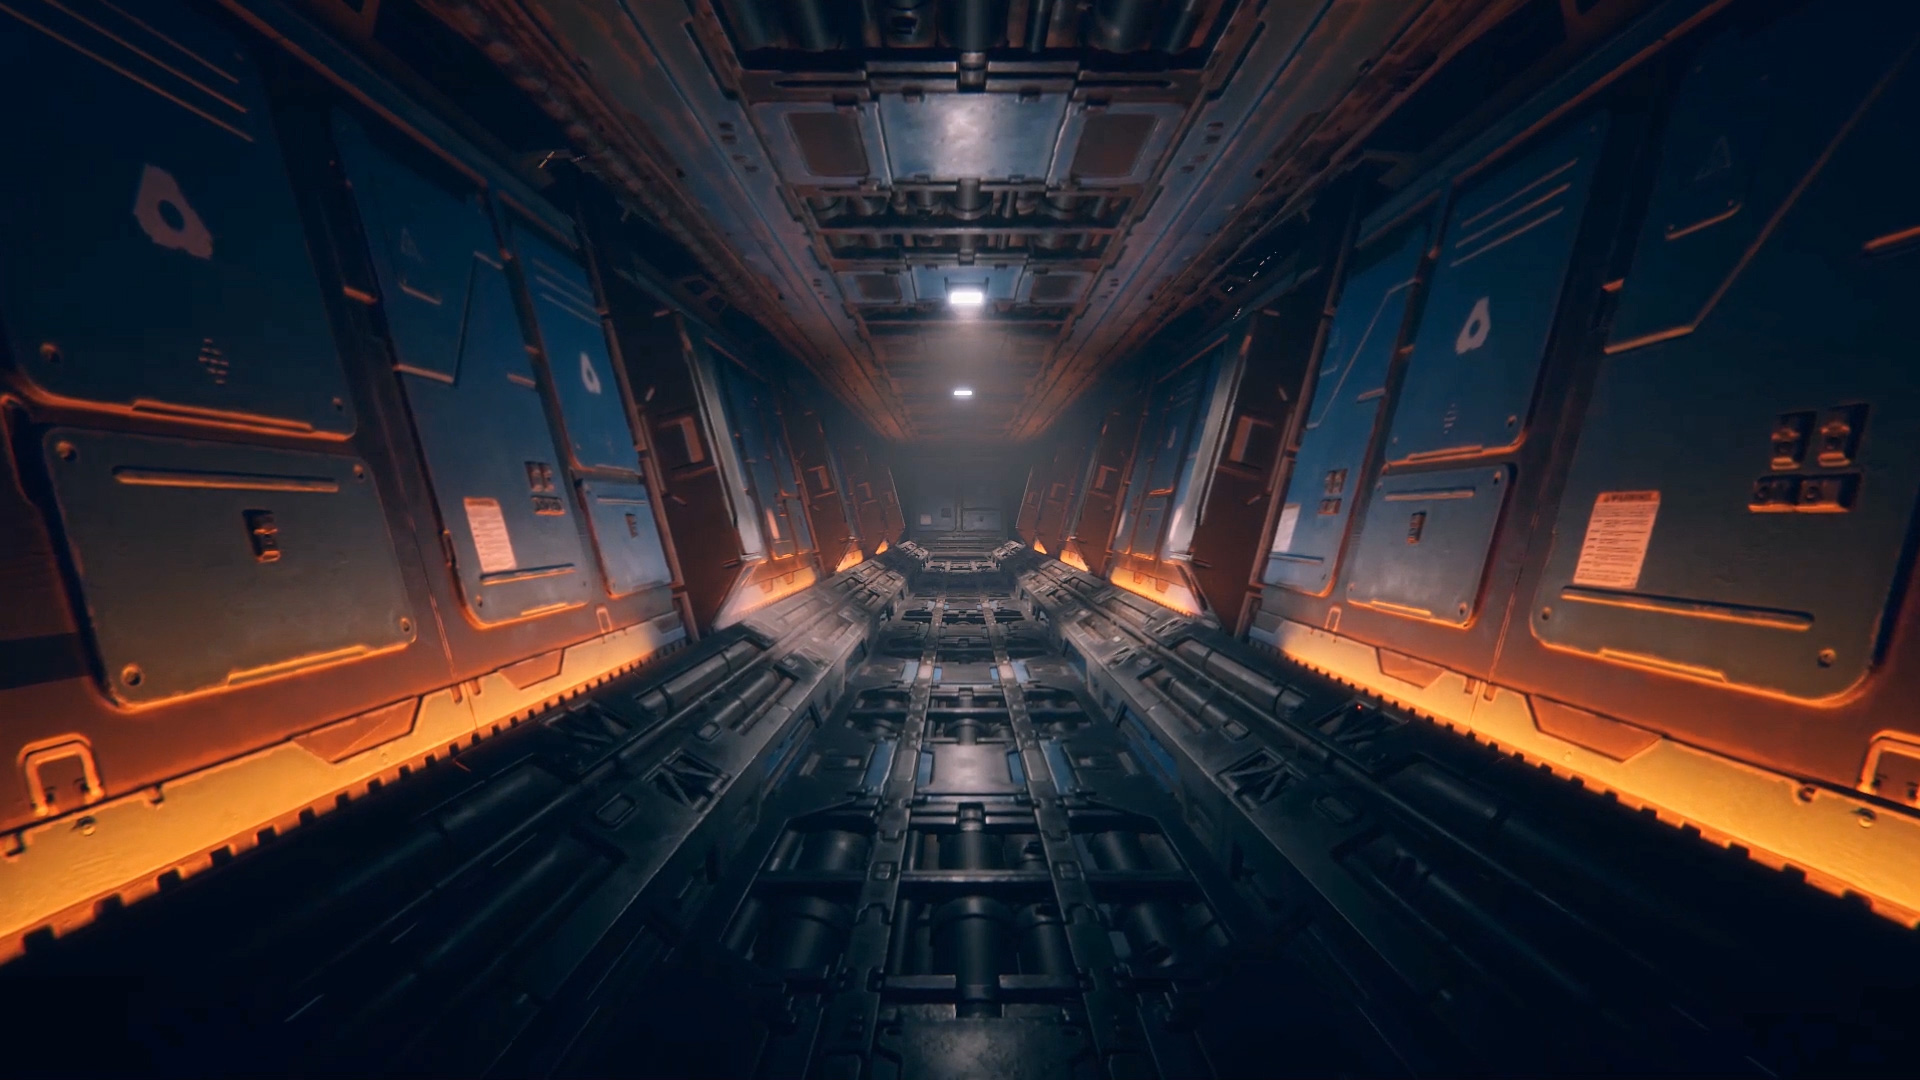
SCI FI PANEL GENERATOR
In this lesson, you will learn how to create a Sci Fi Panel Generator for use in game engines such as Unity. This will be a high level tool that artists can use to quickly turn designs created in Adobe Photoshop into 3D panels for use in-game. As a technical artist, you will learn how you can build this kind of tool using Houdini's node-based workflow including a range of specially designed GameDev Tools published by SideFX.
All the nodes and networks will then get wrapped up into a Houdini Digital Asset or HDA which can be loaded in Unity using the Houdini Engine plugin. Once the tool is ready, game levels can be quickly set up using using this generator tool and some source Photoshop designs to create quality game art.
INTRODUCTION
This overview shows you the finished asset and its various controls work in both Houdini and in Unity. You will learn what kinds of parameters are available and how you can turn a Photoshop file with multiple layers into a quality game-ready model.
Length: 04:25
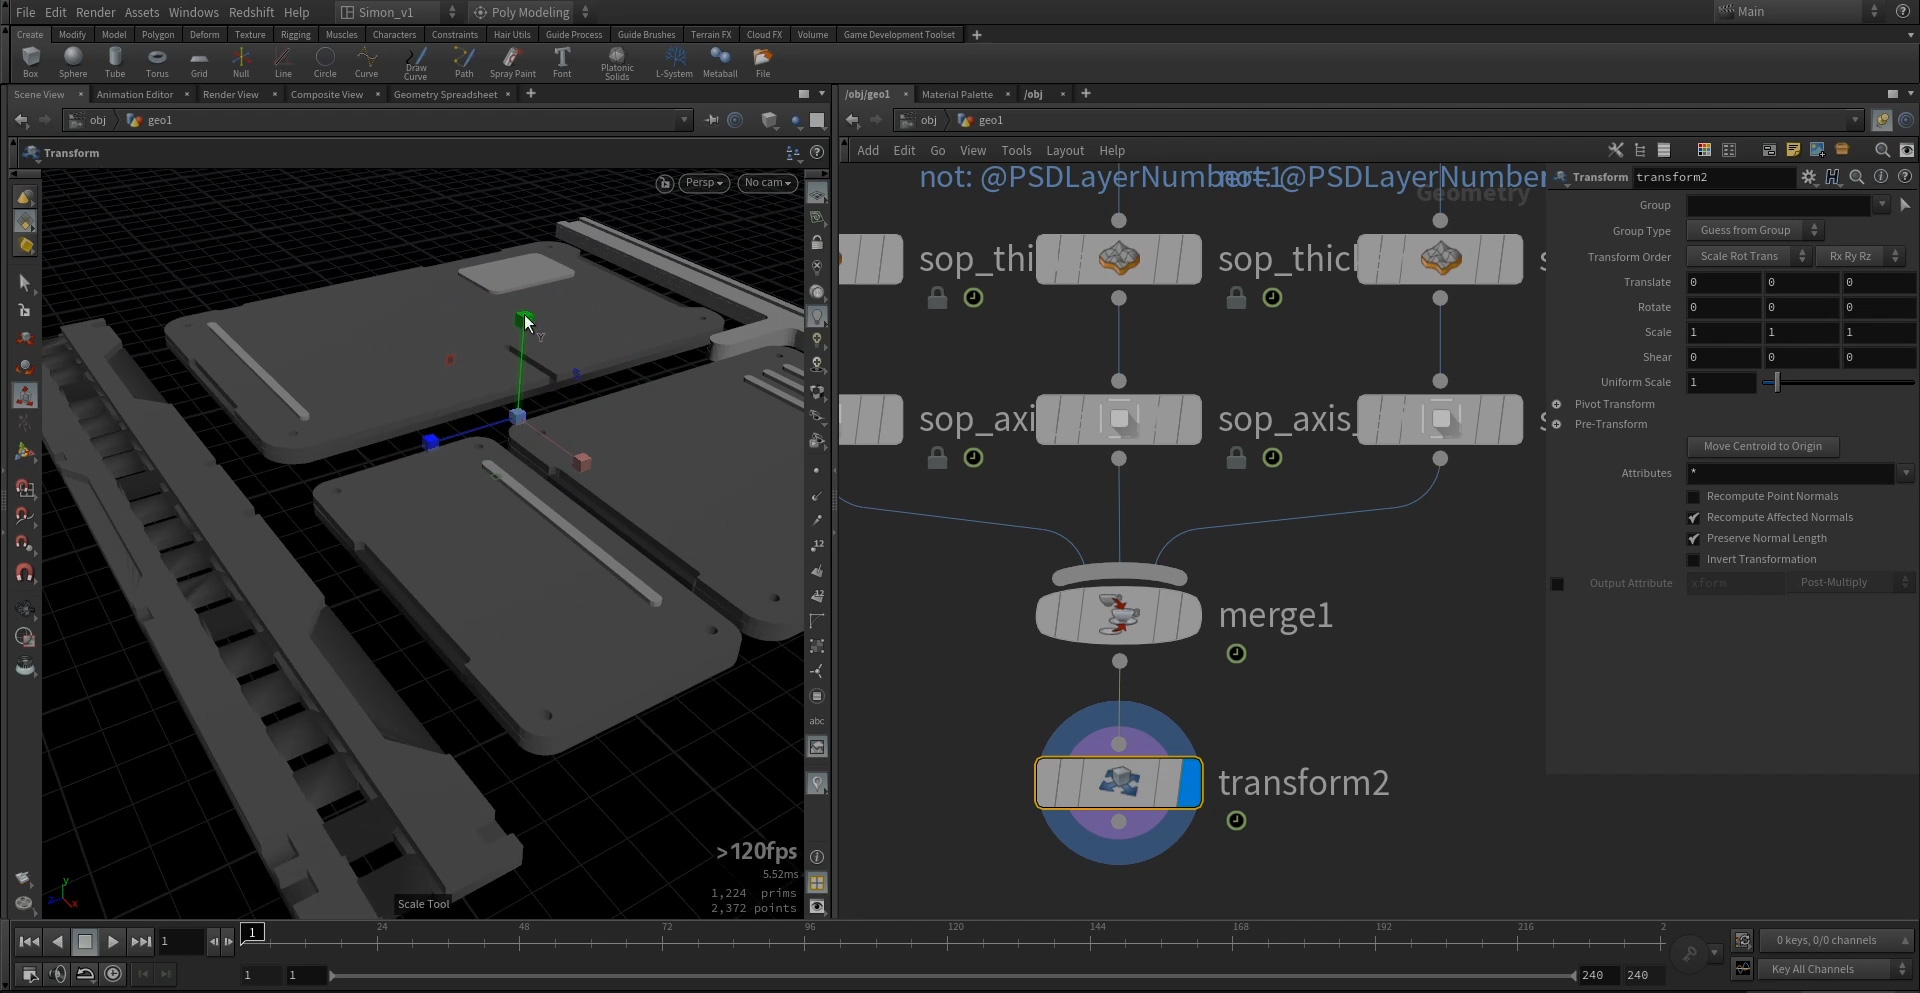
PART 1 | MODELING THE PANEL
In this lesson, you will start with the Trace PSD GameDev tool then use that to start modeling the various layers of the panel. You will learn how to place the parts in relation to each other and will make sure you set up your nodes procedurally so they can handle different PSD files with unique designs.
Length: 33:43
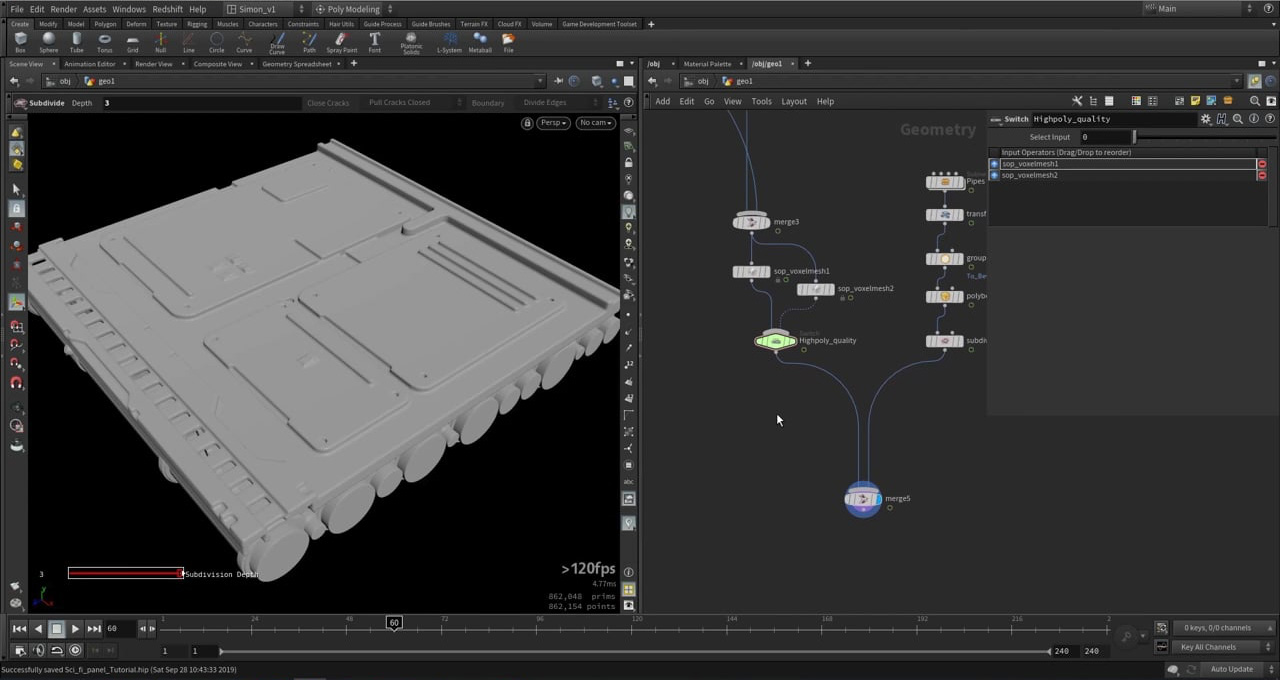
PART 2 | ADDING DETAIL
Now that the main body of the panel is ready, you will learn how to use more layers in the PSD file to add details such as grooves or to place existing pieces of detailed geometry. You will then set up both high and low resolution versions of your panel to allow for texture baking in the next video.
Length: 37:29
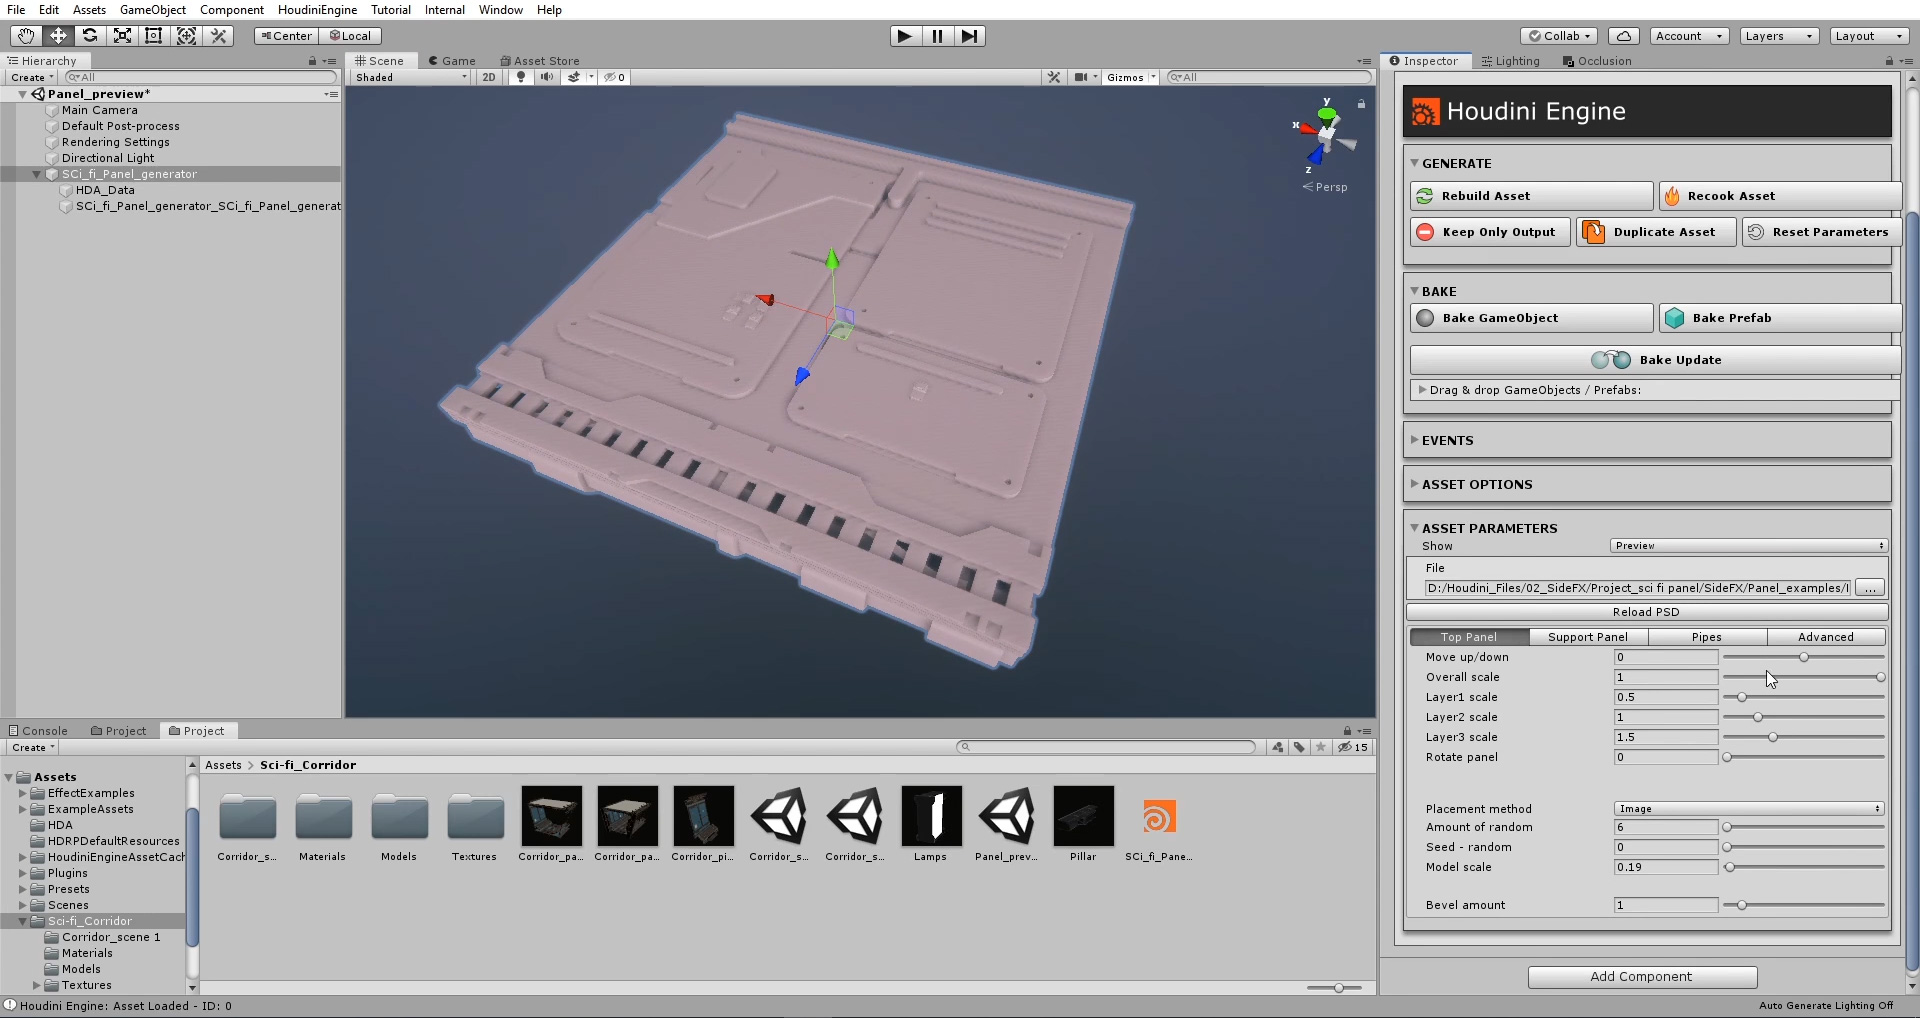
PART 3 | CREATING THE DIGITAL ASSET
It is now time to wrap up the nodes and networks into a Houdini Digital Asset or HDA which becomes a high level tool for artists to work with. You will promote parameters from key nodes to build an interface for the tool and then you will test it in Unity to show that it is ready for level builders to use to lay out the game.
Length: 37:21
NOTE: The controls available on the Houdini Digital Asset are available in the game editor. The results are baked when the game is compiled and the procedural controls are not available at runtime.
CREATED BY

COMMENTS
spieluhr_x 6 years, 9 months ago |
Just in case someone face the same problem as me, you need to update your GameDev Tools to a non production build (1.203 worked for me).
Otherwise you might not see the "layers to extract" option within the trace PSD file.
David Inlines 6 years, 9 months ago |
Wow! Good Work! Its very nice!!
bazuka 6 years, 9 months ago |
Great work mate
BlissettDMB 6 years, 9 months ago |
The geo generation works for Me, but the Normal Map baking is not working.
I've upgraded to 17.5.391 and the GameDevTools to version 1.203.
Does this work with the Indie edition or is there an additional step that I'm missing.
This is a great tool. Any help would be greatly appreciated.
BlissettDMB 6 years, 9 months ago |
Here is a video showing issue:
https://youtu.be/3GgqN48sBJo
Again, the geo is being generated, but the Normal Bake only generates a blue texture with no elevation in the Normal Map.
BlissettDMB 6 years, 9 months ago |
Now using the simple baker and able to get the normal's exported.
Simon_V 6 years, 9 months ago |
In case you still wanna use the Maps baker (which I can recommend), here is a temporary fix.
https://imgur.com/a/hMdELnn
You place null nodes for the high and the low poly, then freeze the null node (which will store the data in the null nodes)
Kjetil 6 years, 9 months ago |
Hello. I am new to Houdini. Is it possible to complete this tutorial with Apprentice version, combining Houdini & UE4/Unity?
Simon_V 6 years, 9 months ago |
The apprentice version doesn't include the plugin for the game engines. You will need to look at the Indie license, if you fully wanna use it. You could still build the tool but not open it in game engines.
More about Indie license here https://www.sidefx.com/buy/#houdini-indie
Or you can get also one on steam https://store.steampowered.com/app/502570/Houdini_Indie/
Kjetil 6 years, 9 months ago |
Thank you for reply and this tutorial. It is a gift to get this sort of insight.
BlissettDMB 6 years, 9 months ago |
Super Awesome!!! The workaround works a treat.
*****************************************************
*********PLEASE FOLLOW [Siver] Fix!!!**********
*****************************************************
Walkthrouh:- https://youtu.be/aAwqX1ryGZw
gabhpe 6 years, 6 months ago |
Hello Simon Verstraete.
Great tutorial.
I have one doubt. In the introduction video, you have a variation of this tool to make a modular kit. How can I separate the meshes in unity to select the parts individually?
Thanks !!!
Simon_V 6 years, 6 months ago |
Hey, Thanks.
The variation of the modular kit was made in Houdini and separated in Houdini as well. You could build a system that export different piece of the HDA in Unity.
But to keep it simple for the video I just separated it in Houdini and textured it in Substance.
ALDE 6 years, 3 months ago |
Hey Simon,
I am working in Houdini 18.0.348
I have got a problem or a question. I am trying to reproduce your tutorial, but I get stuck where you introduce the second loop for each connected pieces. Everything works fine until I try to copy the bevelled pieces on to the provided points, for some reason the bevelled pieces shift on the Z-axis, so they do not match the pipes any more.
ALDE 6 years, 3 months ago |
https://www.youtube.com/watch?v=KeBh34OtYok&feature=youtu.be
ALDE 6 years, 3 months ago |
Okay, I found my mistake
goingbananas 6 years, 3 months ago |
Hello Simon. I'm using Houdini v18.0.426.
When working on the blue line that cuts across the top panel, the Polybevel after the Boolean shatter node deforms the nearby rectangle (from Layer 3). This is happening before the bevel even touches that geometry. The Polybevel from my version is different than the one in your video. Your project files don't exhibit this since it uses the old Polybevel node. Any tips on how to fix this in the newer version?
Simon_V 6 years, 3 months ago |
Hey, Using the new Polybevel should give you the same results. Make sure to export the A-B seams in the boolean and use them in the bevel. Or other possibility that can happen is that there is not enough room for a bevel.
MrFlamey 6 years, 2 months ago |
I made it through the tutorial and am now a lot more comfortable using Houdini. Thanks so much for providing these tutorials for Houdini users to learn from.
I had a couple of problems that really slowed me down:
1. The boolean shatter result seemed to flag the abseams incorrectly when using the connected pieces loop. All of the pieces that were not touched by the boolean had the abseams group added and the bevel result was a mess. I had to remove the loop to get an acceptable result, but in this case, the bevel couldn't be adjusted much before I started to get artefacts.
2. I couldn't get the lattice to have 50 divisions in z because Houdini told me it was too many. I'm not sure if this is a limitation of the current version of the lattice node, or if there was some other issue holding it back. I spent quite a long time trying to increase it, but to no avail.
In the end, I did finish the tutorial, and learned a lot in the process. The resulting low poly mesh was not particularly great, and didn't look great in Houdini, but it looks like your result with normal map applied was decent in Unity. It's an interesting technique, and maybe would produce really nice output with a remesher instead of polyreduce/decimate. Still, it seems like your result was a bit better than mine :D
SiRpRoHxO 5 years, 7 months ago |
2. From the docs:
"Houdini only supports divisions up to 30 when the interpolation type is set to Bezier."
eraban 5 years, 11 months ago |
I can select a psd file but not the one showed in the tutorial. It is another one and it is the only one showing up when i try to select psd file in houdini. Please Help
KieranLatham 5 years, 11 months ago |
Is there a way to assign vertex colours or group the geometry to make an ID map in substance?
Just when I import the geometry into Substance, the only way I can differentiate textures is through polygon fill, which takes a lot more time, usually i'll have the geometry grouped and given a unique colour to make materials a lot easier to manage.
I was wondering how did you approach this?
Simon_V 5 years, 11 months ago |
With the color node you can create an ID map. I used a technique in the crate video to render out ID maps and mask to texture it. https://www.youtube.com/watch?v=HMh3JyGui1Q
KieranLatham 5 years, 11 months ago |
HI Simon.
Thank you for your response.
I was hoping it would be something like that, plus I saw at the beginning of the videos for the scifi crate that you mentioned more about it, i'll be sure to watch that video you linked.
Cheers.
fractaledvisions 5 years, 10 months ago |
Is this related to the Sci Fi Panels tool that comes with the Labs installation? It doesn't seem to have the same options.
Simon_V 5 years, 10 months ago |
The Sci fi Panels from Labs is a different one. This tool was made for the Rebirth project from Quixel https://youtu.be/OKm8MaKf9pU?t=2330
badb3nd3r 5 years, 7 months ago |
As the Docs says, the copy to stamp is not longer the best way. I tried for self learning a solution with copytopoints Node. But it says the Index have to be a Int or String to be processed in the copytopoints Node. I tried to find an option to attribute randomize to output an INT but it seems the attribute randomize node cant do that? So in this case Stamp is the better solution or how would you use the copytopoints Node instead of the stamp node for the Index Attributes?
Simon_V 5 years, 7 months ago |
In the copy to points use the "piece Attribute" option to control which model is copied on what point. The attribute you use need to be an INT and you can use the "attribute Cast" node to convert a Float to an Int. In newer videos I use this method as well.
badb3nd3r 5 years, 7 months ago |
Thanks for your reply! I converted it to int with the cast node, that worked. But i got weird results, the geometry is not complete copied on the Points, just one primitive of the source geometry. Here is a picture of the result and node options with a basic cube. https://s12.directupload.net/images/201122/cawtbhur.jpg
Pack and Instance is also not working. Every time i get lost in something small like this and seems impossible to solve, cause i dont know whats going on with Houdini, is it me or the engine. ┐(^▂ ^;)┌
I will search for other tutorials from you. Realy nice tutorials from you!
zhulinda 2 years, 7 months ago |
Hi, I'm wondering if you solved this issue? I have the same issue with missing primitives of the source geometry.
Ferdinand13 5 years, 1 month ago |
Hi Simon,
Just going over your tutorial and it's a treat :-) Just wondered about one thing - I'm using Houdini 18.5.563 with the 18.5.563 version of SideFX Labs. In the "Labs Trace PSD File" node the "Preview Mode" option from your tutorial seems to be missing, which is a shame, because that would make it a lot easier to manage all of the different layers. Is that a bug or was it left out on purpose in newer versions? Thanks for letting me know.
Also - just as a side question - I created the panel design in Adobe Illustrator, which - at least in my opinion - is the better tool for the job instead of Photoshop. I exported a PSD file from Illustrator (which comes with its own problems) and things worked fine for the most part inside Houdini. However, I wonder, if there wouldn't be a better option to import those vector files generated inside Illustrator directly into Houdini, instead of going via the PSD roundabout. Is there an efficient way to replicate your tutorial using Houdini's vector file import functionality? Just out of interest :-)
serinoac 4 years, 9 months ago |
No preview mode in Labs Trace PSD File. End of the tutorial for me.
Please log in to leave a comment.