Learn how to build realistic materials in Houdini with CG Forge's Shading Theory with Karma. This set of tutorials explores concepts that define materials in the real world then teaches how to create them in Houdini. Learn how to adjust the right properties on the Principled Shader to achieve the desired results.
All of these lessons use a specially designed Shaderbot that lets you explore the materials as you create them. This shaderbot is available for download below to help you as you work through the lessons. These lessons uses the Solaris/LOPs context in Houdini and the SideFX Karma renderer for generating images.
INTRODUCTION
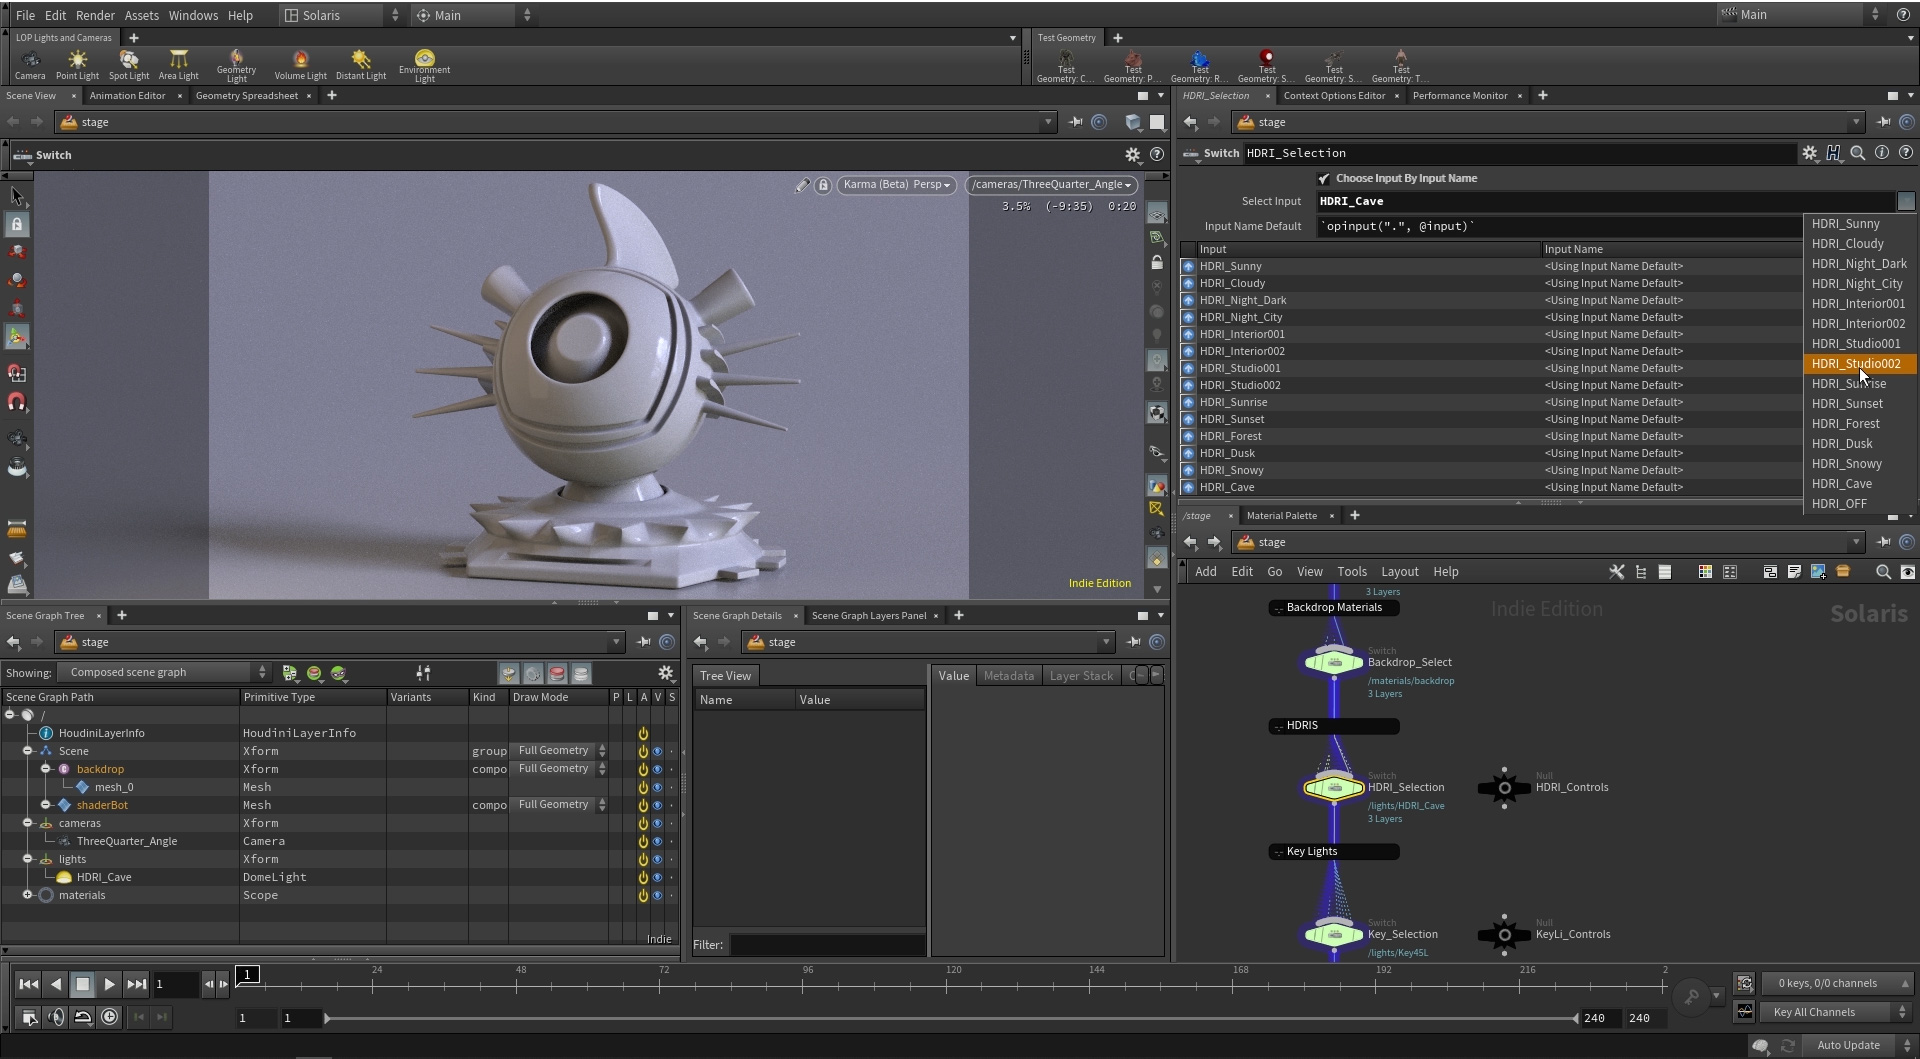
Get started with an introduction to the lessons and explore the shaderbot scene file that will be used to create the materials. The shaderbot includes a series of switch nodes for choosing different backdrops, HDRIs and Key Light setups to make it easy to examine how each material looks.
Length: 04:01
PART 1: Diffuse Reflection
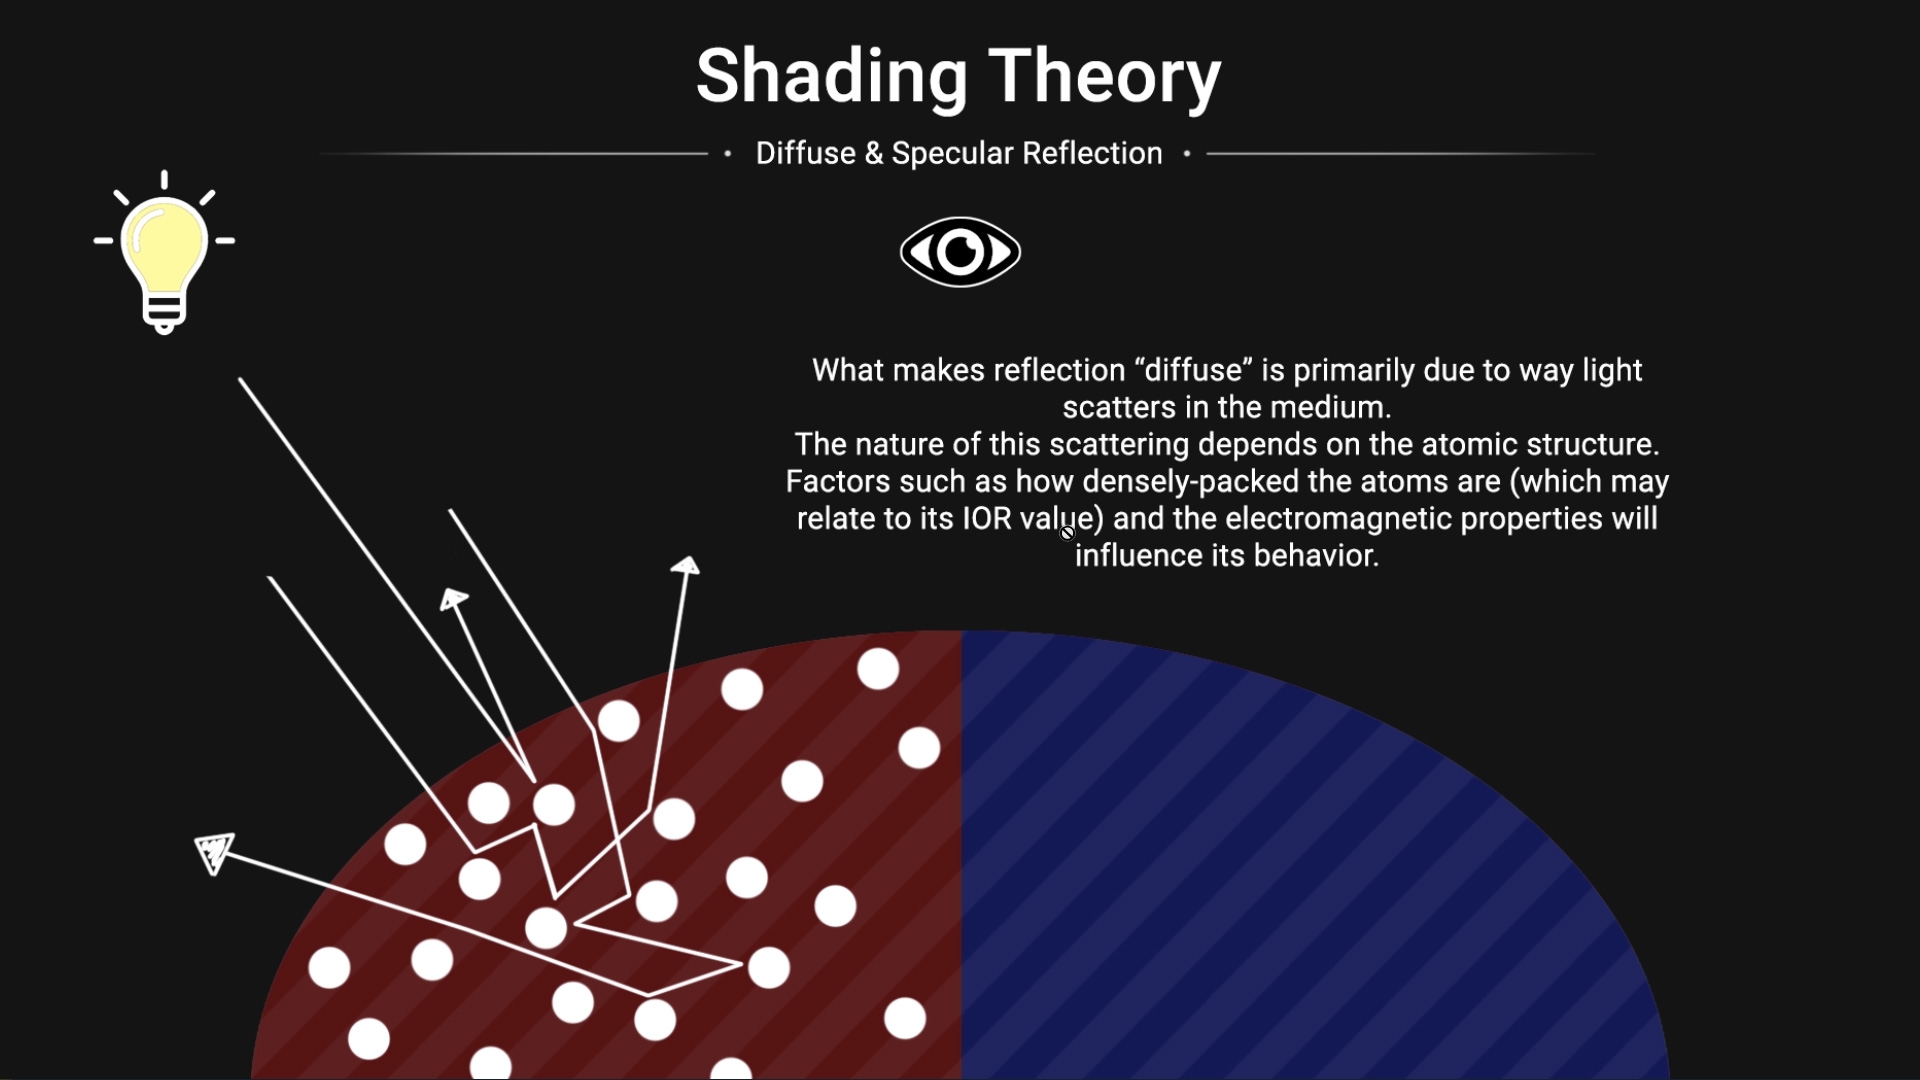
This lesson dives into Diffuse Reflection and compares how this concept is usually taught to how it really works at the atomic level. You will then learn how the Principled Material handles diffuse reflections when rendering with Karma.
Length: 08:23
PART 2: Specular Reflection
This lesson will explore reflections in the real world including dielectrics, semi-conductors, & metals. You will gain an understanding of metallic and specular reflections including Fresnel effects where specular reflections occur at grazing angles.
Length: 10:45
PART 3: Roughness & Absorption
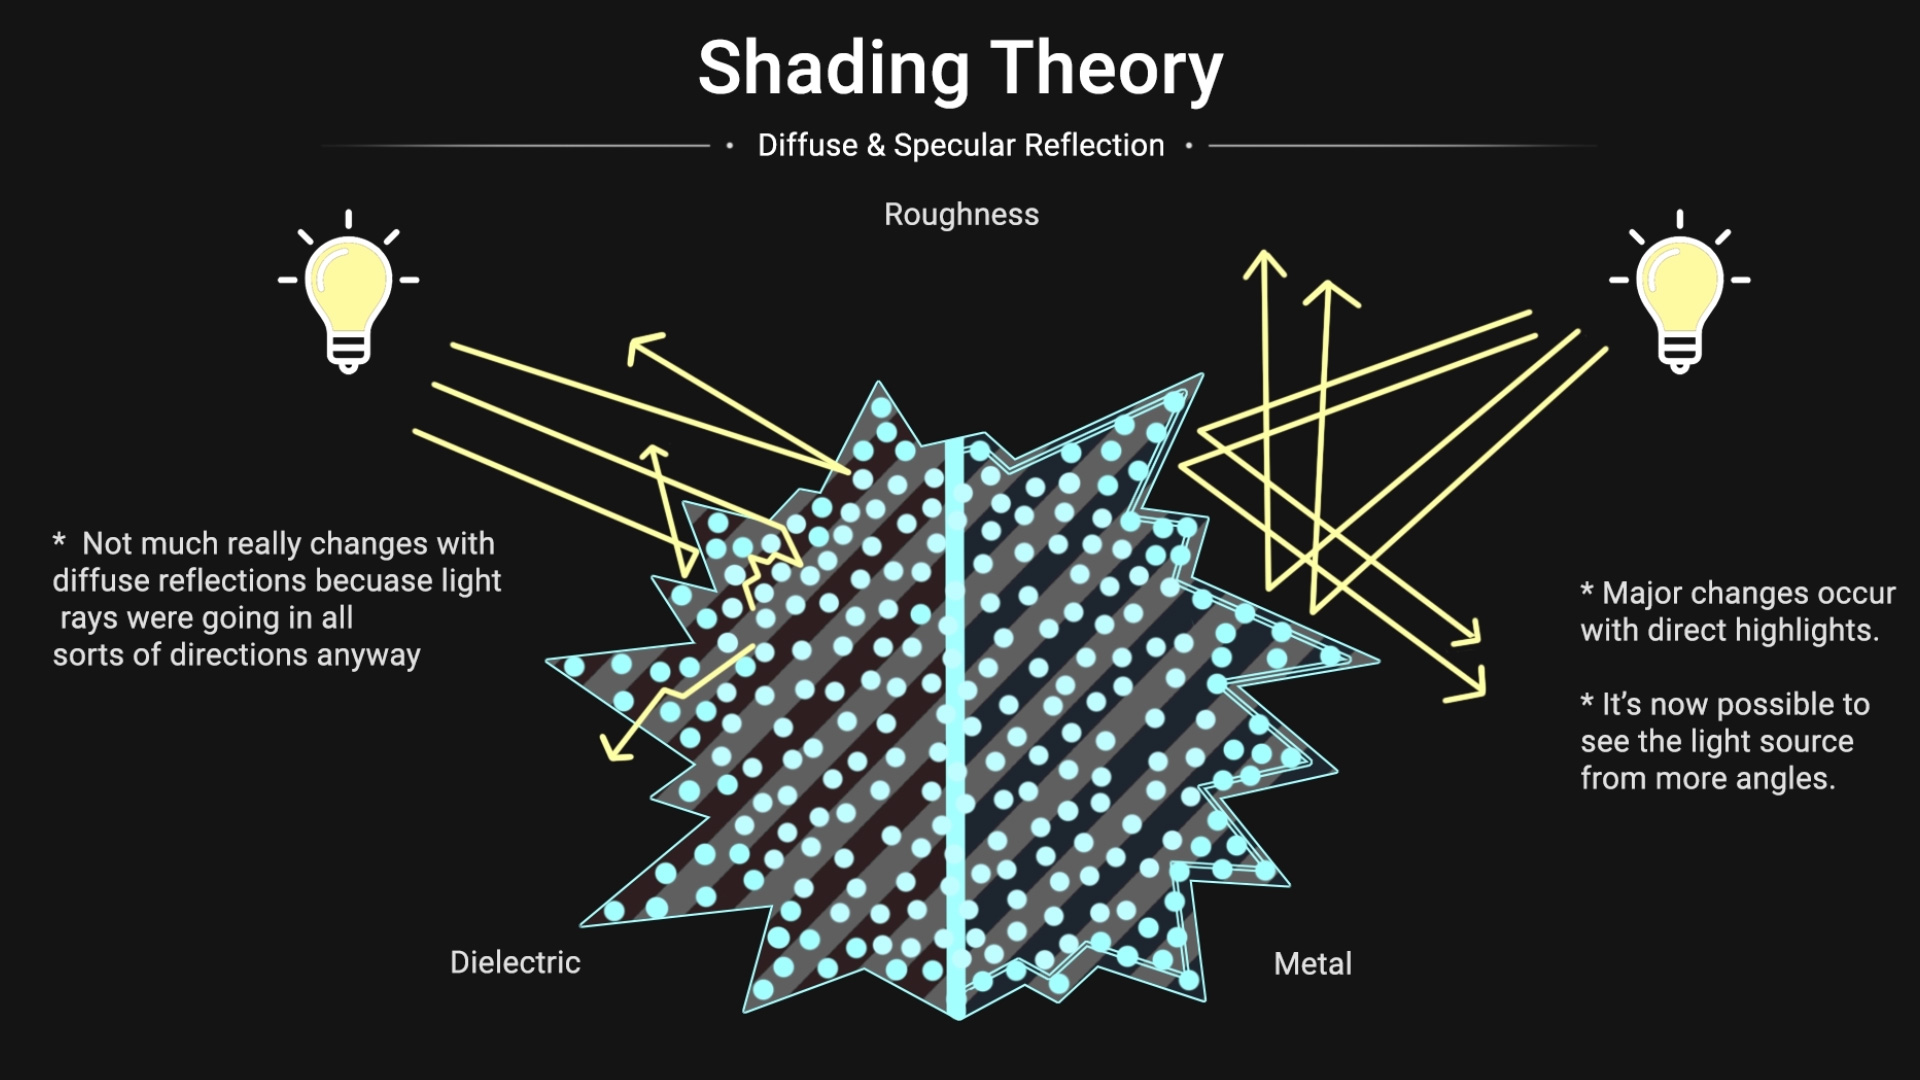
Learn what roughness means for diffuse reflections along with how roughness changes specular lobes. Explore the relationship between Fresnel and roughness and learn about absorption and best practices for albedo parameters. These concepts will then be tested on the principled material using the shaderbot.
Length: 10:47

PART 4: Shading Exercises
Starting with a collection of images, you will learn how to pick colors from each reference along with when to use the Metallic parameter and where to find the IOR of a metal on the web. By researching and analyzing reference, you can achieve the look you need for each material. This lesson also explores smooth dielectrics and how to sample metals.
Length: 11:59
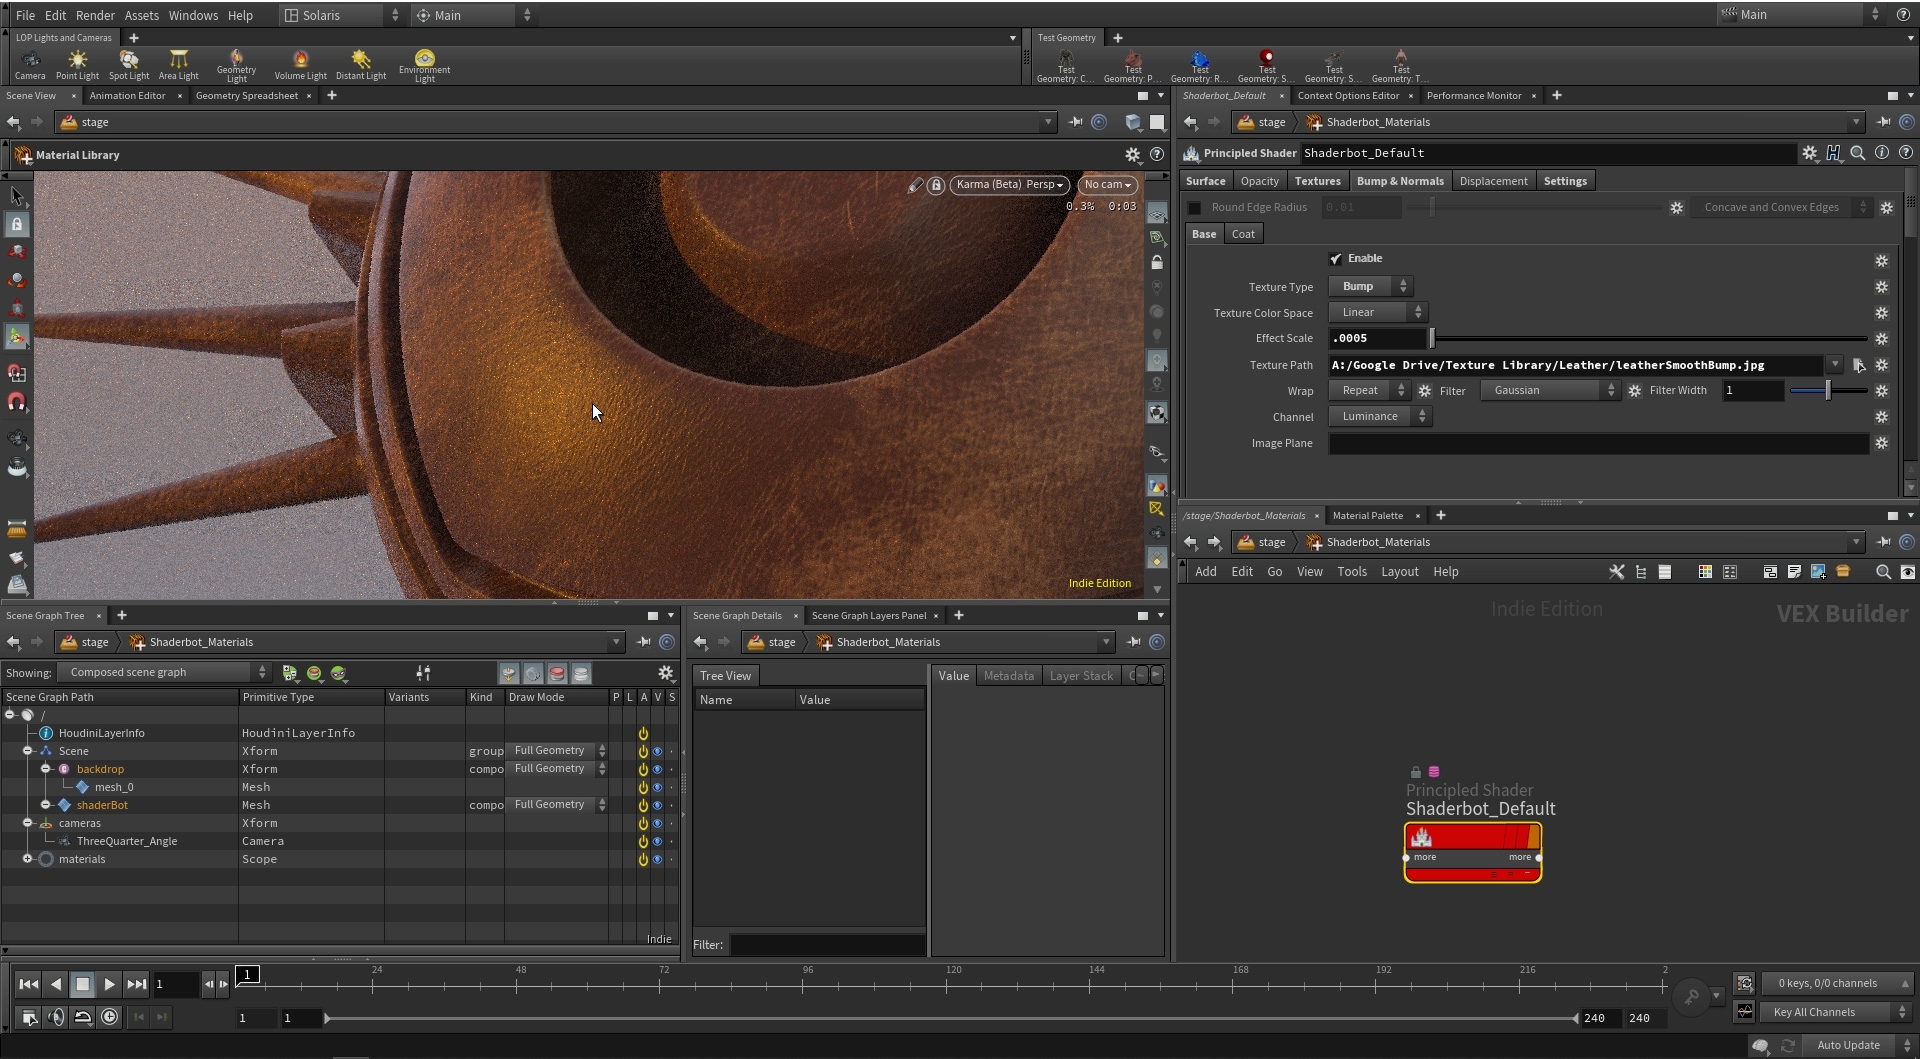
PART 5: Texture Maps, Anisotropy, Sheen and Clear Coat
This lesson continues the creation of the real life materials. Here you will learn how to use texture maps with the Principled Material and best practices for using bump maps. Next you will explore the use of anisotropy, sheen and the basics of coat settings.
Length: 13:59
PART 6: Transparency
Learn how to achieve realistic transparency. This involves setting proper refraction & reflection limits to suit your model. Learn why light bends with transmission and what IOR [index of refraction] can do for the 3D artist. You will also talk how Dispersion affects the transparent look of your shader even though this feature along with nested dielectrics are not yet supported in Karma.
Length: 13:41
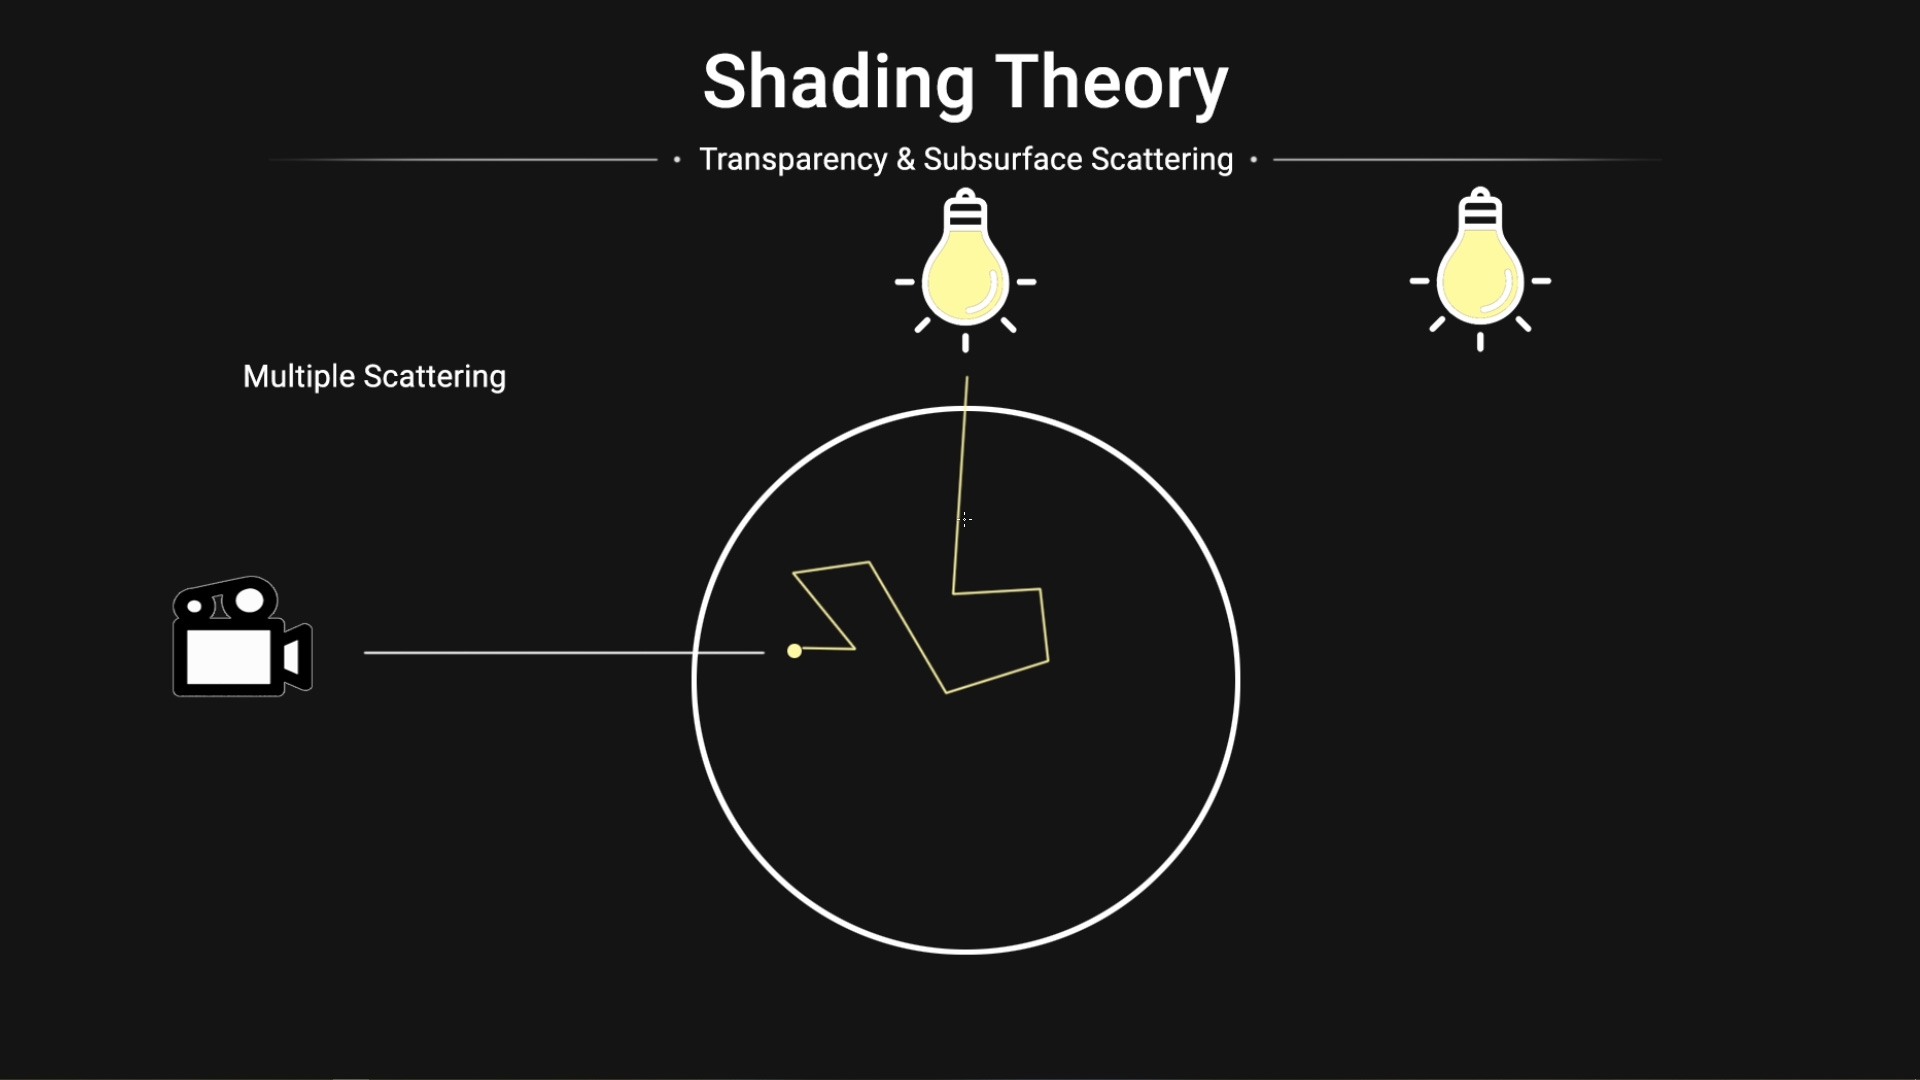
PART 7: Subsurface Scattering
Here you will learn the difference between diffuse and subsurface reflections. Starting with a real-world analysis of subsurface/diffuse objects, you will then learn how in CG you can use either single-scattering
or multi-scattering to get the look you need. This lesson will also explore the Transmission Color options on transparent shaders to achieve a colored glass effect.
Length: 09:48
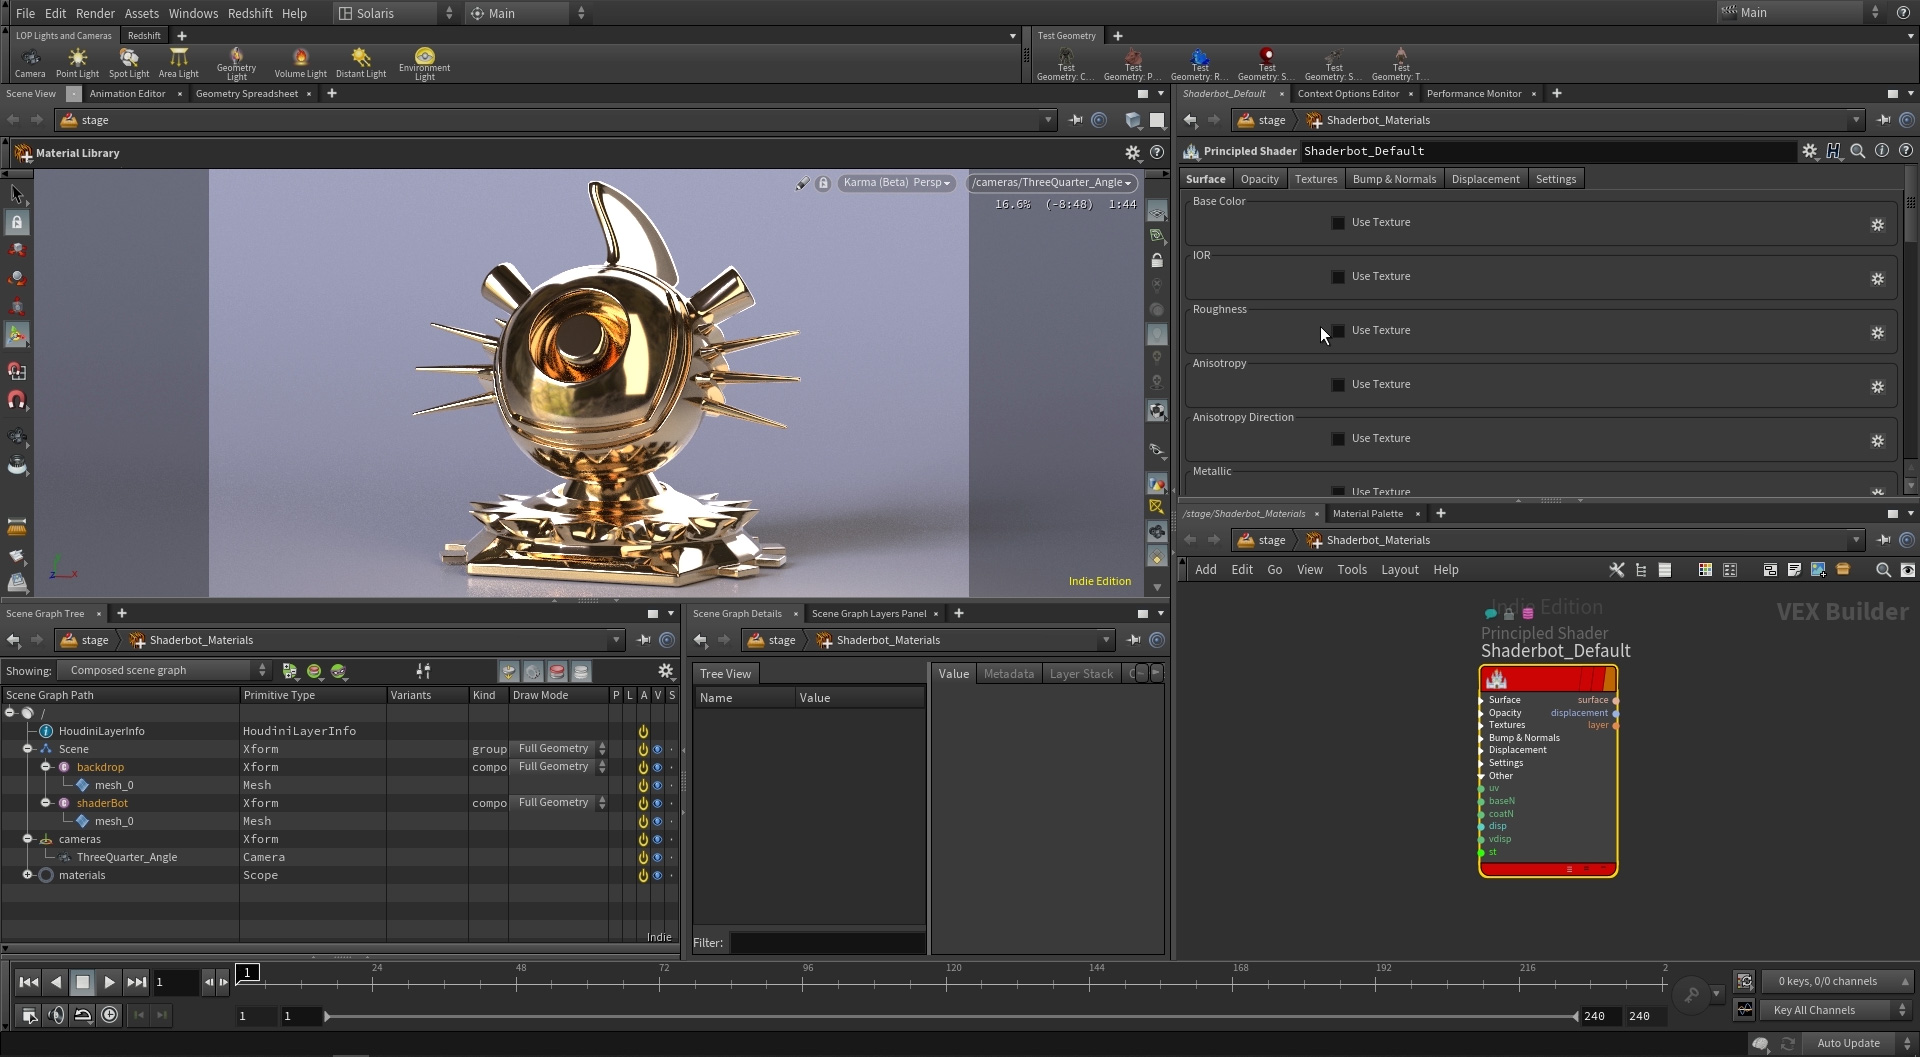
PART 8: The Golden Challenge
Now that you know how to use the Principled Material to achieve different looks, you can try to create realistic gold using the techniques you have learned. To assist you, this lesson establishes basic gold parameters and addresses how to generate accurate RGB values for metals.
Length: 07:23
CREATED BY

COMMENTS
BabaJ 6 years, 3 months ago |
Thanks very much for this. I don't have good shading skills/knowledge and like working in Lops with Karma. So very very useful. Looking forward to setting time aside and go through this.
Mohamed_Mohsen 6 years, 3 months ago |
this is amazing
belkinserge 6 years, 3 months ago |
fantastic!
ogwin95 6 years, 3 months ago |
wow, this is great!
quinniusmaximus 6 years, 3 months ago |
love the walkthrough of all of this... not seeing the image with the duck and frying pan though.
rmagee 6 years, 3 months ago |
The image has been added above next to the video.
3dman 6 years, 3 months ago |
Fantastic Tyler! This is awesome!!!
Merci ;-)
Scara 6 years, 3 months ago |
Nice one.
Scara 6 years, 3 months ago |
Wanted to add, your explanations are wonderfully clear and despite thsi being a hobby for over 22 years, I was always a little unclear. Your diagrams and explanations re a general view of what is happening at an atomic atomic level let me have my ....ah ha moments.
digitalwu 6 years, 3 months ago |
excellent!
rav3nclaw 6 years, 3 months ago |
Nice, learned a few new stuff :) thanks
anon_user_75466869 6 years, 3 months ago |
I am liking Karma more and more importing Nulls easily, thanks for these tutorials to study.
BabaJ 6 years, 3 months ago |
In your teapot example you were wondering what the coating might be. Ceramics with coatings like that are called glazes. They can have a number of elements in their composition to give textures and colors for desired results after firings. However, the main component is silica (not the elemental silicon). In the pixelandpoly web site you gave it's ior is under 'Glass, Fused Silica' with an IOR of 1.459 - not much different than the the 1.4 you use which is why it works well.
BabaJ 6 years, 3 months ago |
Might want to add the texture file used in Part 5 so people can get the same results when following along?
tbay312 6 years, 2 months ago |
Hi BabaJ,
If you're looking for texture maps, I'd recommend visiting textures.com, poliigon.com/, texturehaven.com/, or creating your own through a combination of photography and photoshop.
As I mentioned in the video, I prefer not to distribute texture maps due to copyright considerations. Thanks for watching, and have a nice day.
BabaJ 6 years, 2 months ago |
Thanks Tyler.
Just wanted to let you know if you plan on doing a paid tutorial that expands upon the topics you covered in this tut series - you've got a willing to pay customer here.
Maybe like making custom shaders and examples of why one might want to do so - Situations where a principal shader just isn't enough?
I believe SideFX had a MasterClass on such a topic for around H16/17 and is likely still relevant, but I don't remember it giving an example of why one would to venture into that with examples.
As a side note I was trying to understand what the heck is Random Walk SSS is about on a current SideFX forum thread and found someones hip on the topic, but found something related to your tuts here that could be useful to know for viewers of the tut.
You used the example of bringing up render properties for the Karma Viewport Renders of being able to set Refraction Limit('D' with mouse over viewport) - and that it is a setting not available on the Karma node itself.
There is however a 'Render Geometry Settings' node where one can set Refraction Limit(amongst other settings) for the Karma render node to get renders that work for ip or to disk.
tbay312 6 years, 2 months ago |
That's great to know that you can find those limitations in the render geo settings as well. Thanks for the tip! Right now I'm developing a course called "Shading Theory" as a followup, and those videos will be designed to take the ideas in "Shading Theory" a step further by comparing various workflows, specific situations, and topics that are universal to all render engines.
Cheers BabaJ
BabaJ 6 years, 2 months ago |
Looking forward to that tut. Thanks.
Anonymous 6 years, 2 months ago |
First, I really appreciate this series! As a student it really helped me to strenghten my understanding of Shading in general, not only in Houdini!
And now my questions :D
Is it still correct to have the Alebdo Multiplier at 0.7 with Gold? You explained the Albedo Mult at 0.7 as that 30% of the Light turns into Heat on Dielectric Materials because of Absorption. How is it with Metals? You said dense objects create that "barrier" and therefore less light goes into the object and if, it gets totally absorpted --> no diffuse reflection --> metals. So with metals also 30% of the light is turned into heat?
Were the values you picked from refractiveindex.info the "raw" reflection values without the absorpted part and therefore the Albedo Mult is not on 1.0? But then, why did you also have the Albedo Mult on 0.75 when matching the iron pan, when you took the RGB-Values from the image, so the values are the real world reflection values and the Absorption of the light already "happened"? Am I getting something wrong or going waaaay to scientific?
tbay312 6 years, 2 months ago |
Hey David,
Thanks for checking out the course! Those are great questions, so here is what I would say in general: There's a couple of main reasons why I mentioned setting the albedo multiplier to 0.7.
For one, in the real-world, we often times forget that some of the light is converted to heat. For metals, this also applies to a very small degree. Metals have very different electro-magnetic properties than di-electrics though. Because of this, the absorption has to do more with cross-cancellation of the light wavelength rather than heat absorption, (from my understanding). This is why - for example - metallic foil is used to insulate spacecraft instruments in outer space. The intense radiation found in outer-space is cross-canceled or reflected rather than converted into heat.
What that means for us as 3D artists, is that you should never pick a value of 1 (pure white) on R, G, or B. That general advice also applies to a value of 0 (pure black) for your Albedo values.
When you go to plug in those light wave values at refractiveindex.info, you're right that we are starting with the full radiance (which is a value of 1). For di-electrics, as I mentioned before, you should see about 30 to 40 percent of that light converted to heat, and the non polarized reflection values reach a maximum value of around 0.7. For metals, it's possible to have values that are very close to the full amount of 1.
But anyway, the second reason why I do this - and more importantly - is because it offers a practical advantage when shading a whole scene. By setting everything to 0.7, it will improve the way that light affects objects. You'll find that this generally decreases the contrast between objects and makes it easier to prevent clipping highlights without underexposing the diffuse portions of your scene. So even if - lets say - the frying pan was sampled from a color, it still makes sense to do a value of 0.7 for practical purposes. You're right though in that the absorption has already taken place in the image. So, yes, technically an albedo multiplier of 0.75 is inaccurate at that point. However, it's still a practical thing to do for the reasons I mentioned above.
Just remember though that at the end of the day, it's up to you on whatever you want to do. Trust your eyes before your brain when it comes to making artistic judgement. These are just good things to ponder about.
Have a nice day,
- Tyler
andrewjhaugen 6 years, 2 months ago |
Hey Tyler!
Thanks for posting this super informative series!
I was trying to recreate your startup scene from scratch because I thought it was a cool setup and wanted to see if I could do it but I was having a hard time figuring out the bit where you stopped the shadows being visible on the backdrop. It appears you have a parameter called Render Visibility on your Render Geometry Settings node that I can't seem to find. Did you add it custom from like a script or something?
Thanks!
Andrew
tbay312 6 years, 2 months ago |
Hi Andrew,
Thanks for following along. All you need to do is use a render geometry settings node, select the backdrop primitive, and set the render visibility to "-shadow"
Cheers,
- Tyler
harryabreu 5 years, 9 months ago |
Wonderful I learned a lot, you blow away a lot of question I had about shading in Houdini.
As soon as I can I go to your site to learn more thanks.
gulfen 5 years, 7 months ago |
Awesome really hard stuff made simple, thank you for that.
Anonymous 4 years ago |
Thank you! Finally I have a better understanding of all these terms!
kuszi 2 years, 6 months ago |
Hi Tyler!
First of all, thank you this series, it is fantastic.
I use materialX in Karma, but I think this is the same.
I have question about the IOR.
In the video, at 1:00 you copied the IOR value 0.27035 (which depends the wavelength value).
You can see it at 2:17 where the IOR is 0.65663, the gold is still selected, only the wavelength has changed.
So I have checked at https://pixelandpoly.com/ior.html and gold IOR is 0.470
I have tried a lot of IOR values, copy the rendered images to photoshop and subtract. I always got black.
Does IOR really affect the metal materials?
thank you
Csaba
Please log in to leave a comment.