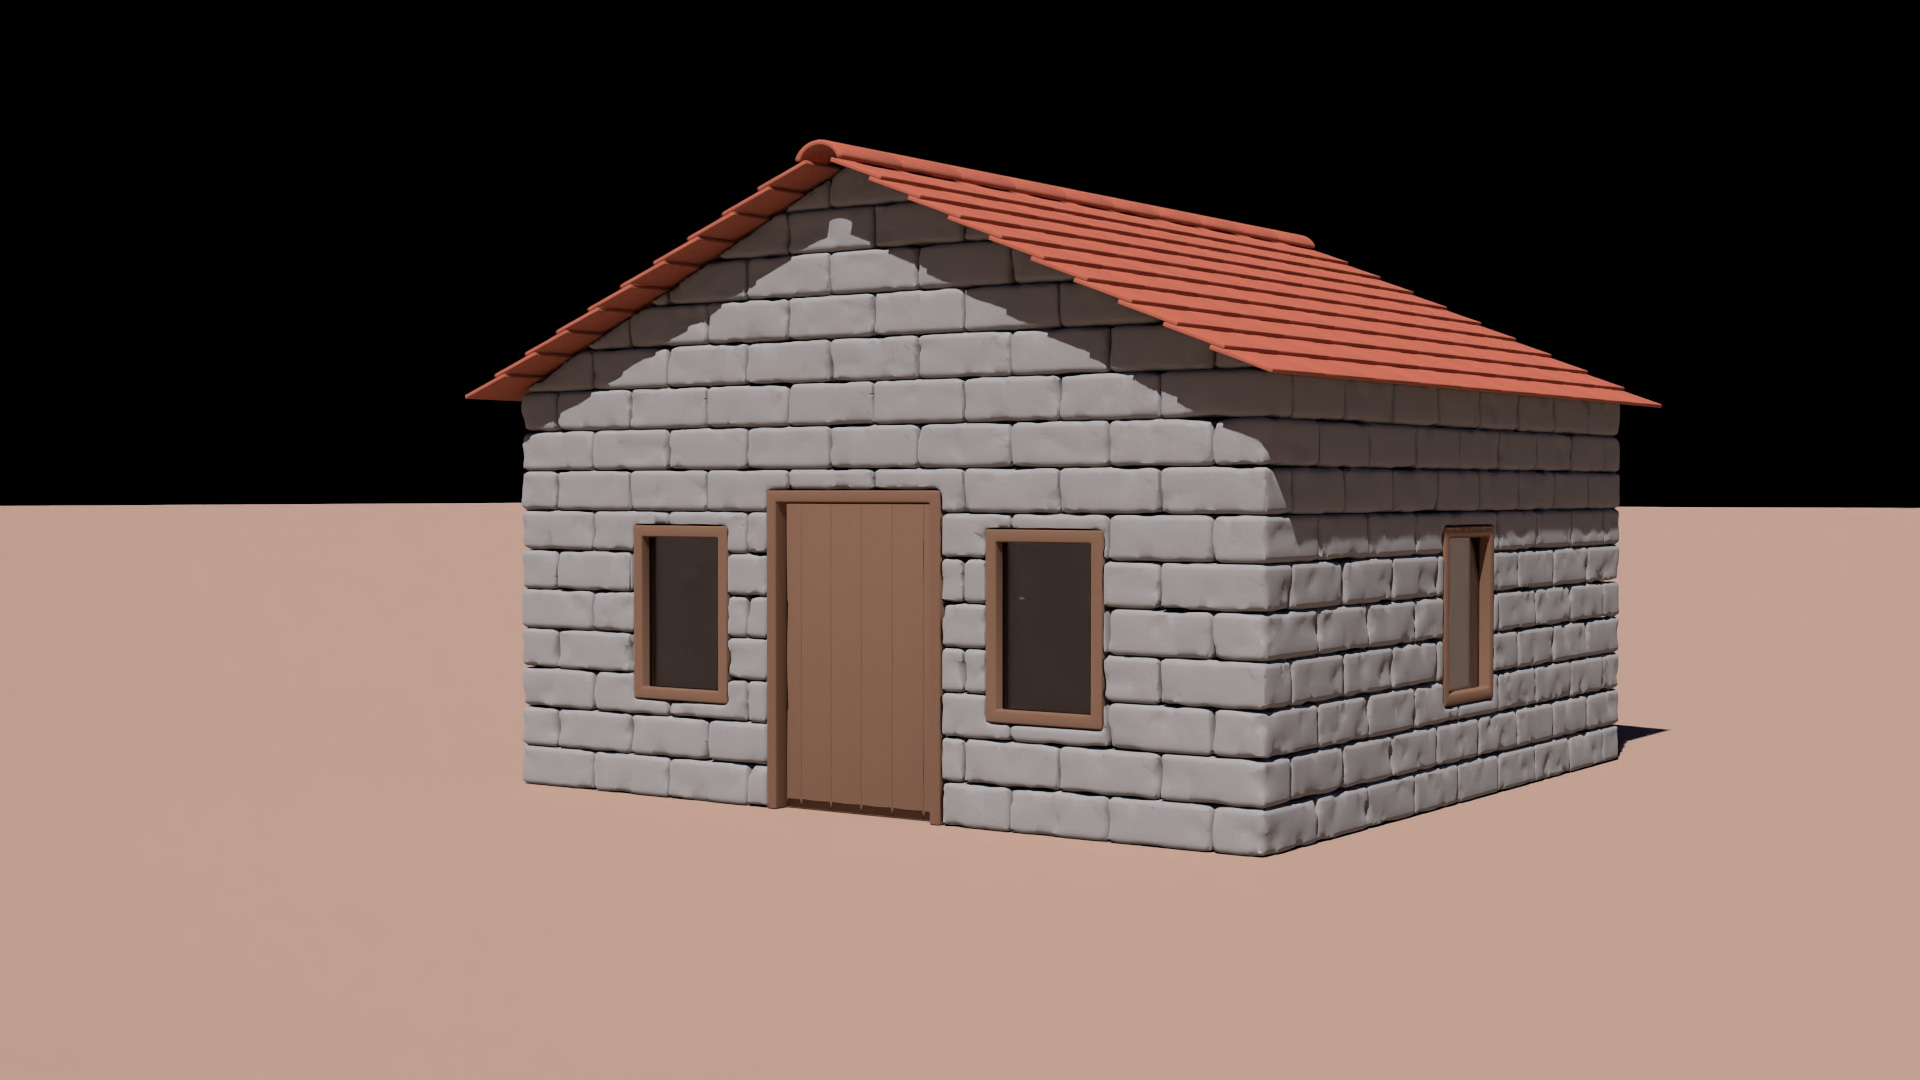
MODEL A PROCEDURAL HOUSE
Learn how to create a procedural house that is set up in support of a destruction shot. To make the house procedural, the node network is carefully constructed to ensure that everything will update if the basic shape or the height of the house changes. You will build individual bricks that can be destroyed later and windows and doors will be set up with frames and panes of glass. The network will organize the bits and pieces then add names and groups to provide a foundation for the fracturing of the house down the line. This is a very detailed lesson that explores each concept thoroughly.
INTRODUCTION
A quick introduction to the topics being covered in this tutorial. You can take a look at the final model and see the network that will be used to create it.
Length: 00:26
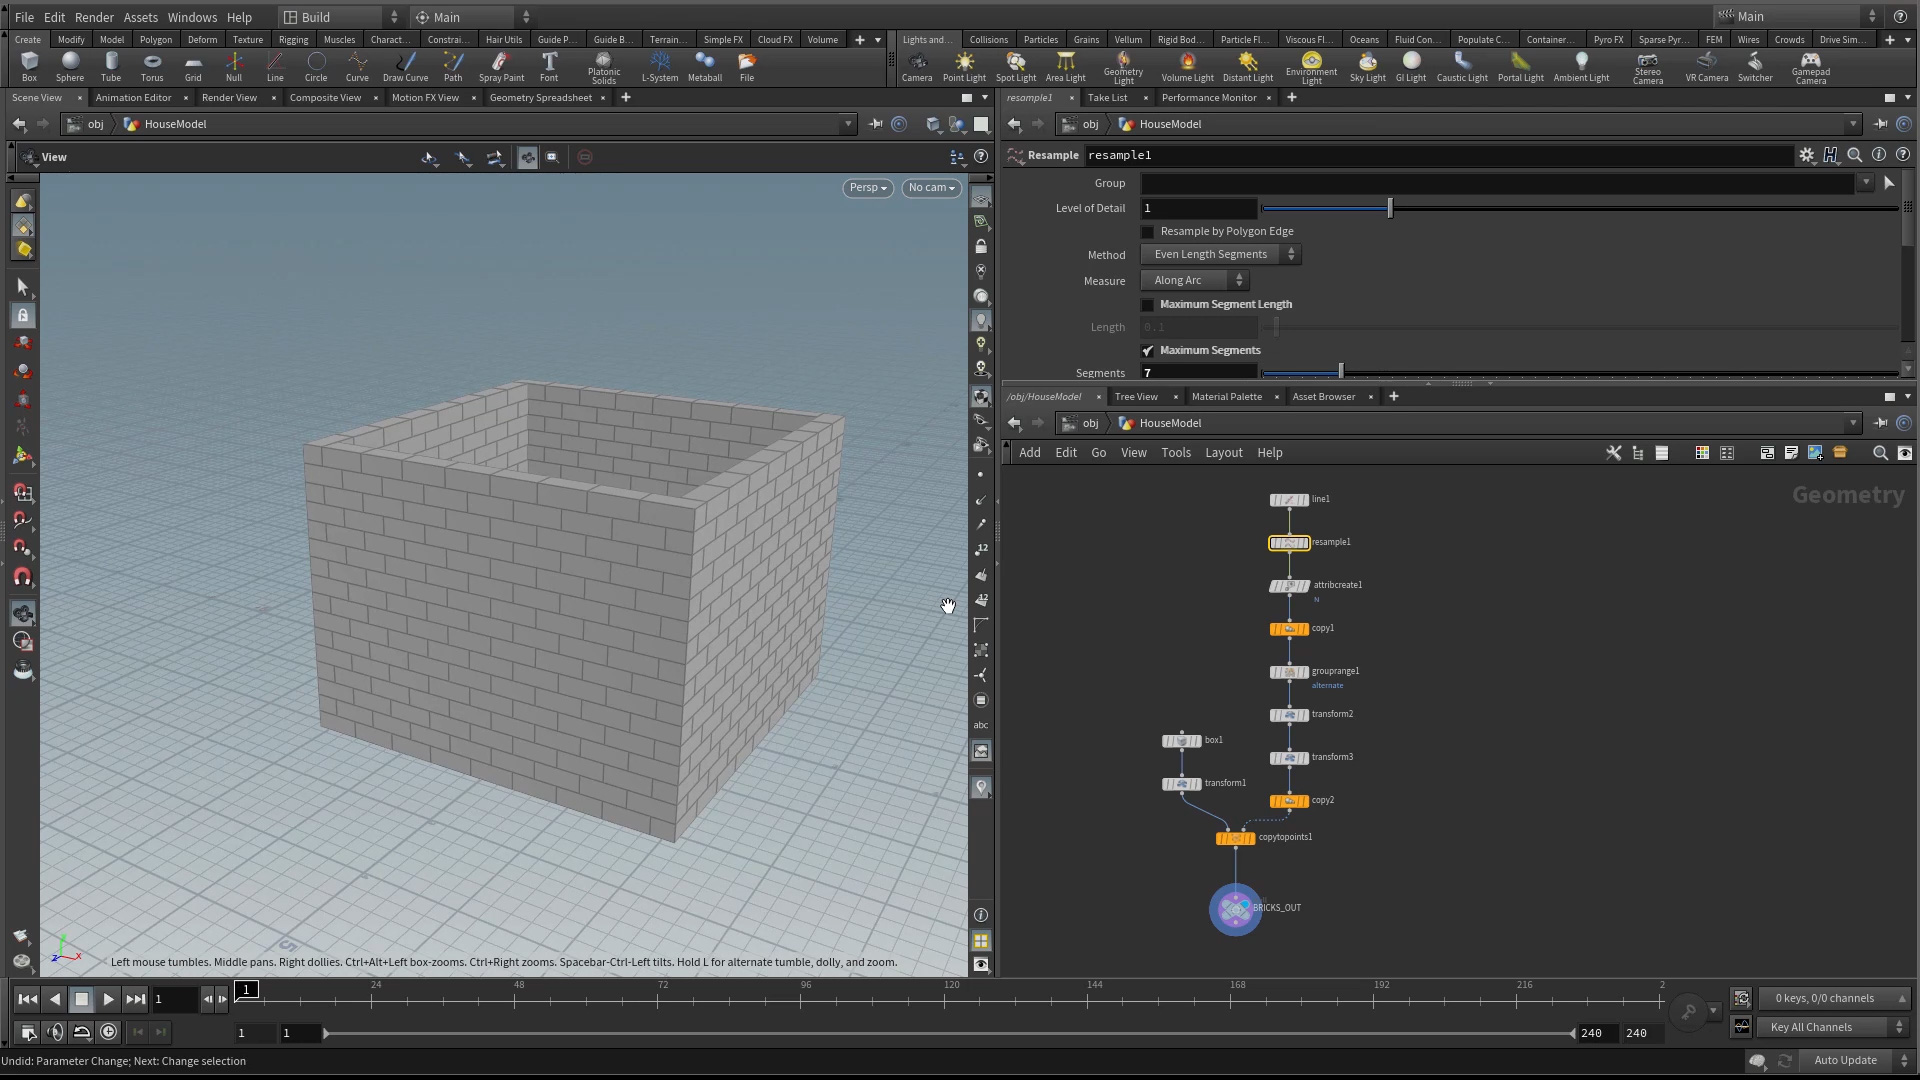
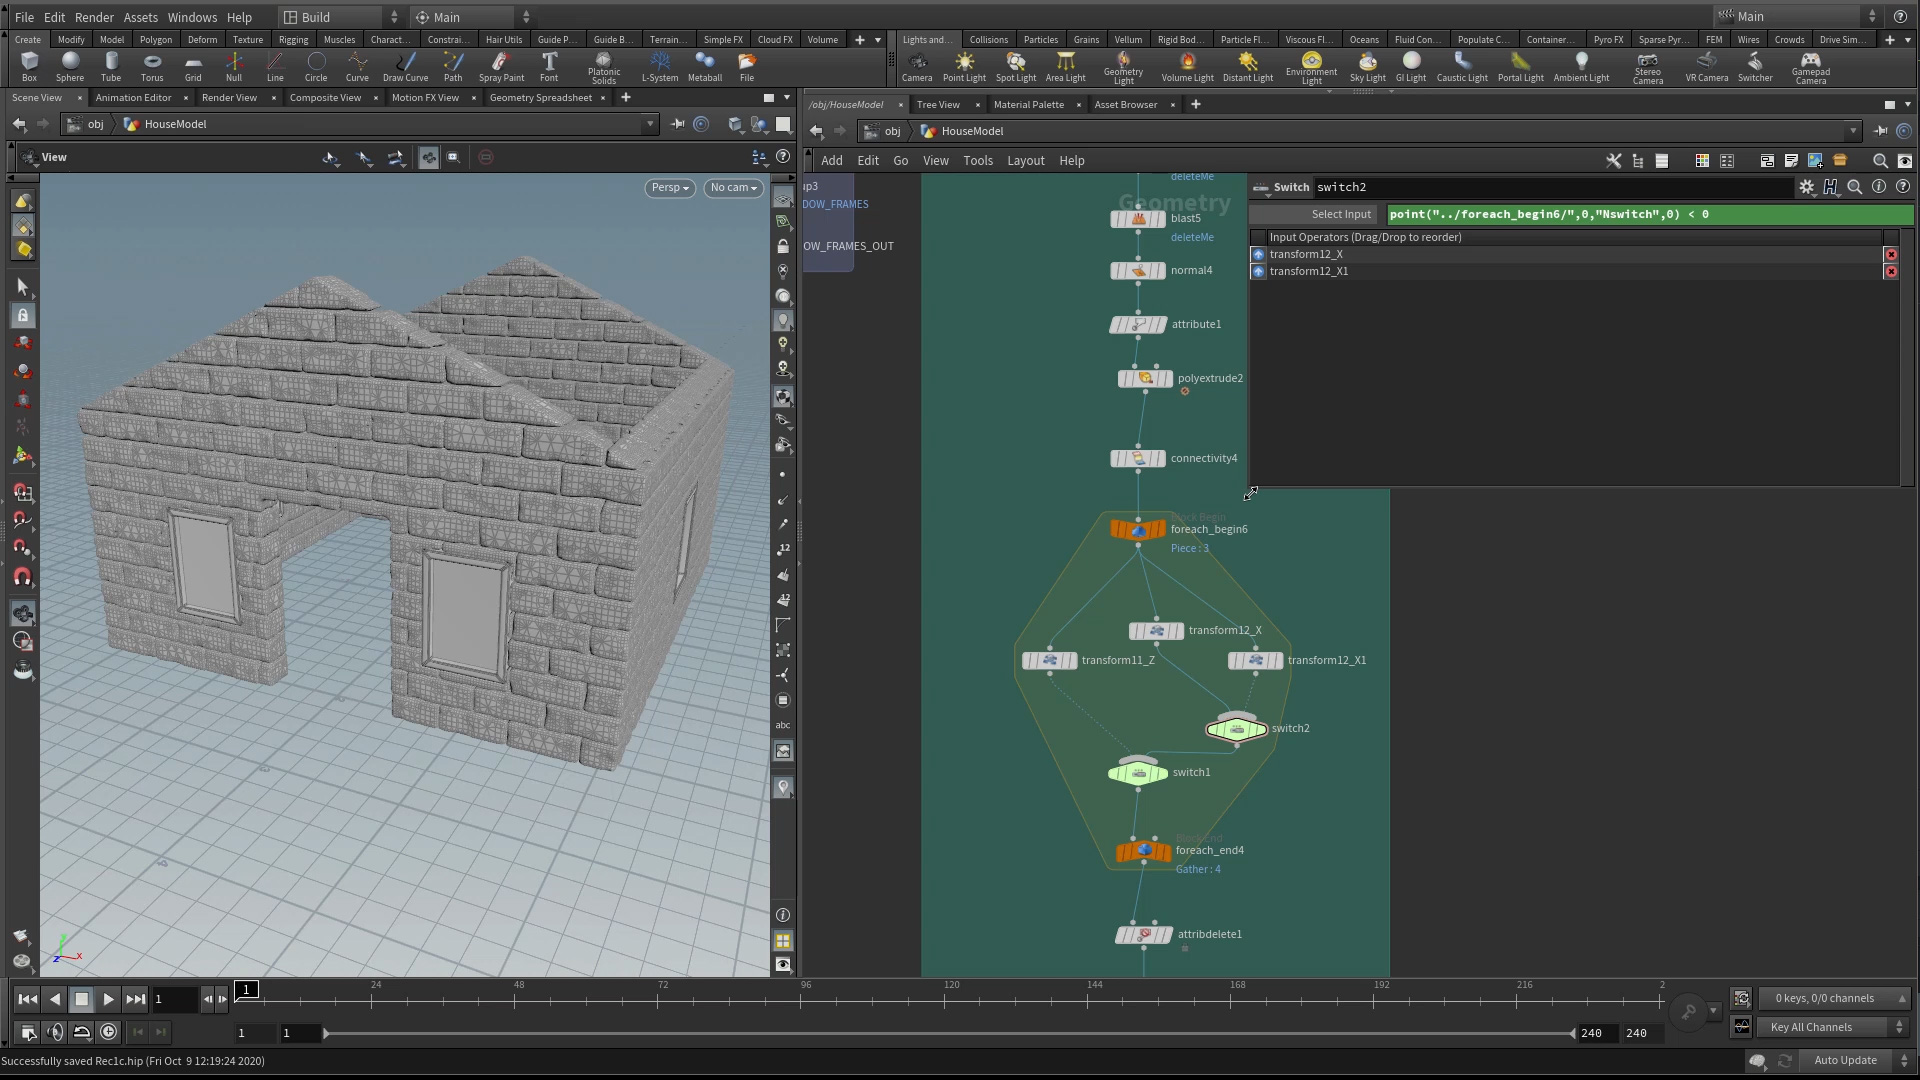
1 | Define the Basic Shape
Create the basic shape of the house using individual bricks that are copied to points, aligned then staggered to create the expected pattern. At the end you will tidy up the network to get ready for future steps.
Length: 22:21
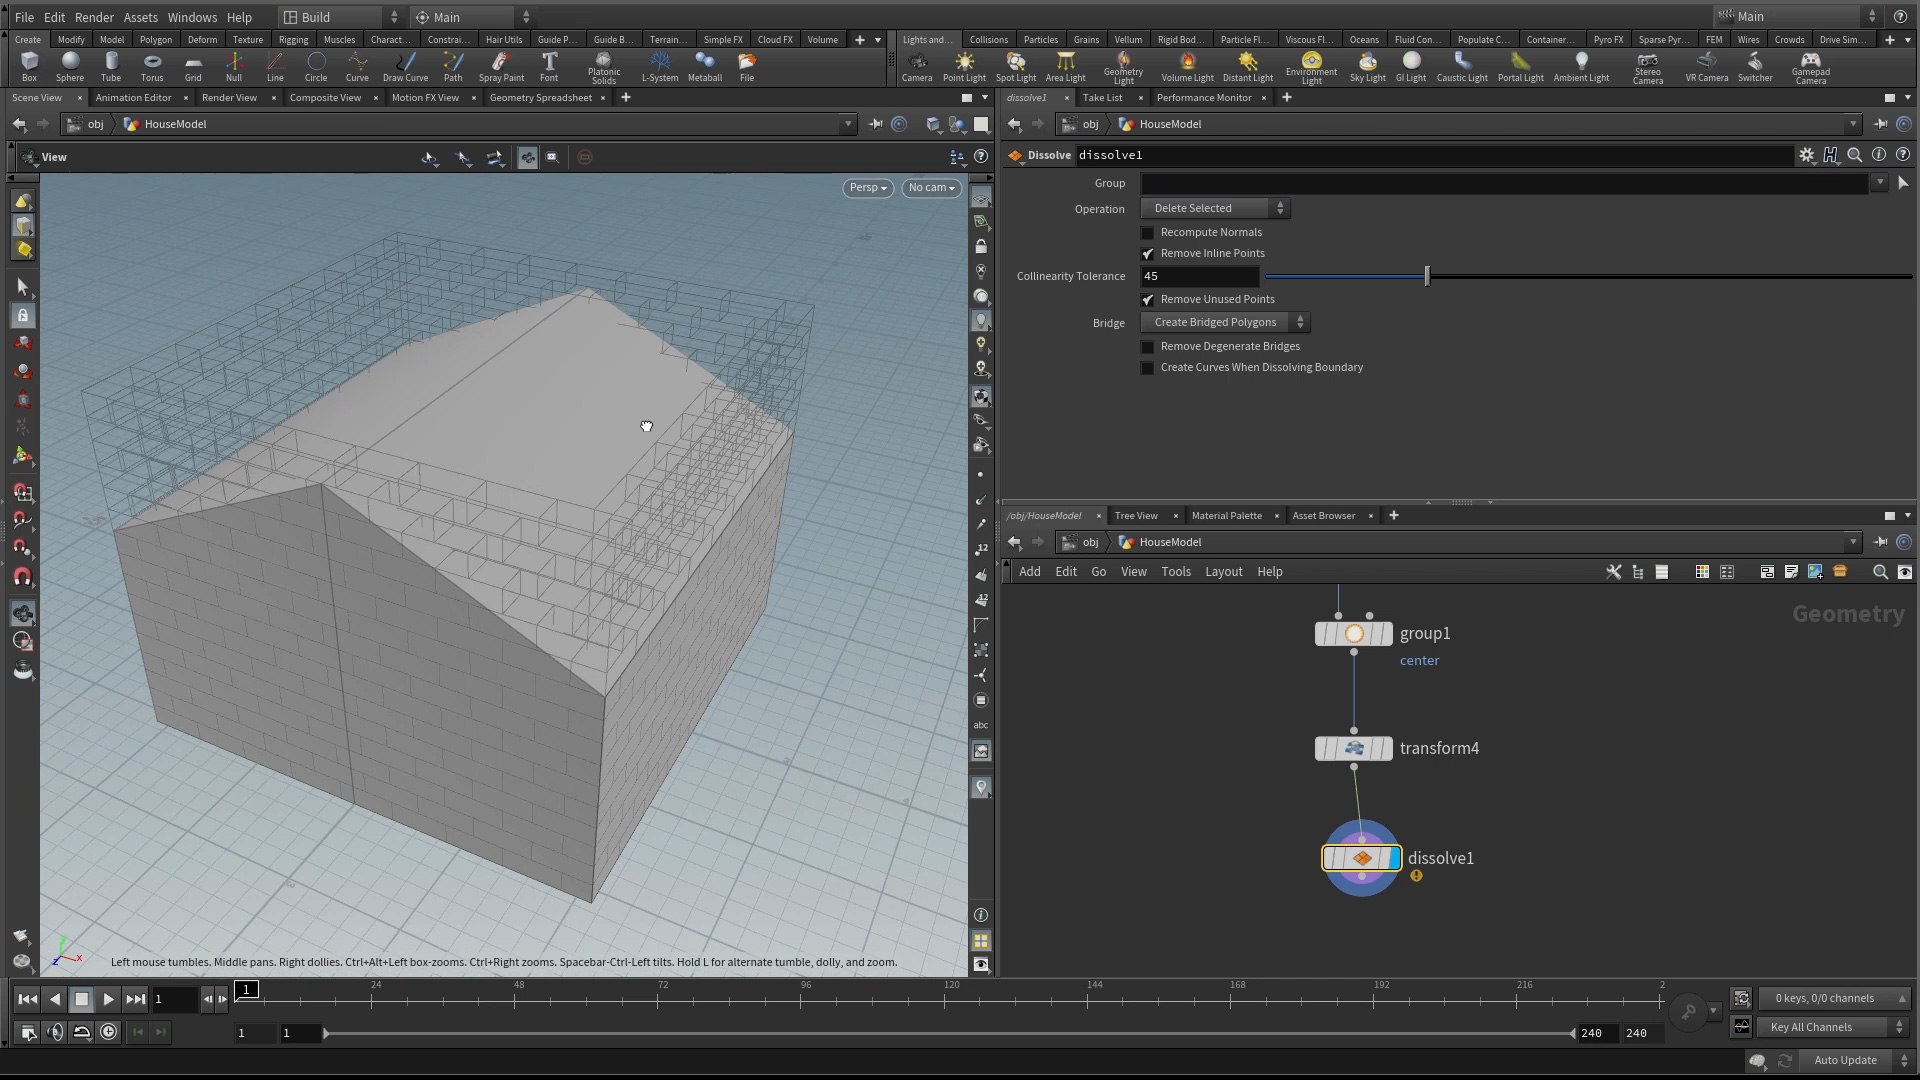
2 | Cut Out the Roof
Create a simple model of a house with a peaked roof which can then be intersected with the bricks using a boolean. At first this doesn't give the desired result but after using a for-each loop and compile blocks to boolean each brick individually, you will get the clean geometry you need for destruction down the line.
Length: 15:09
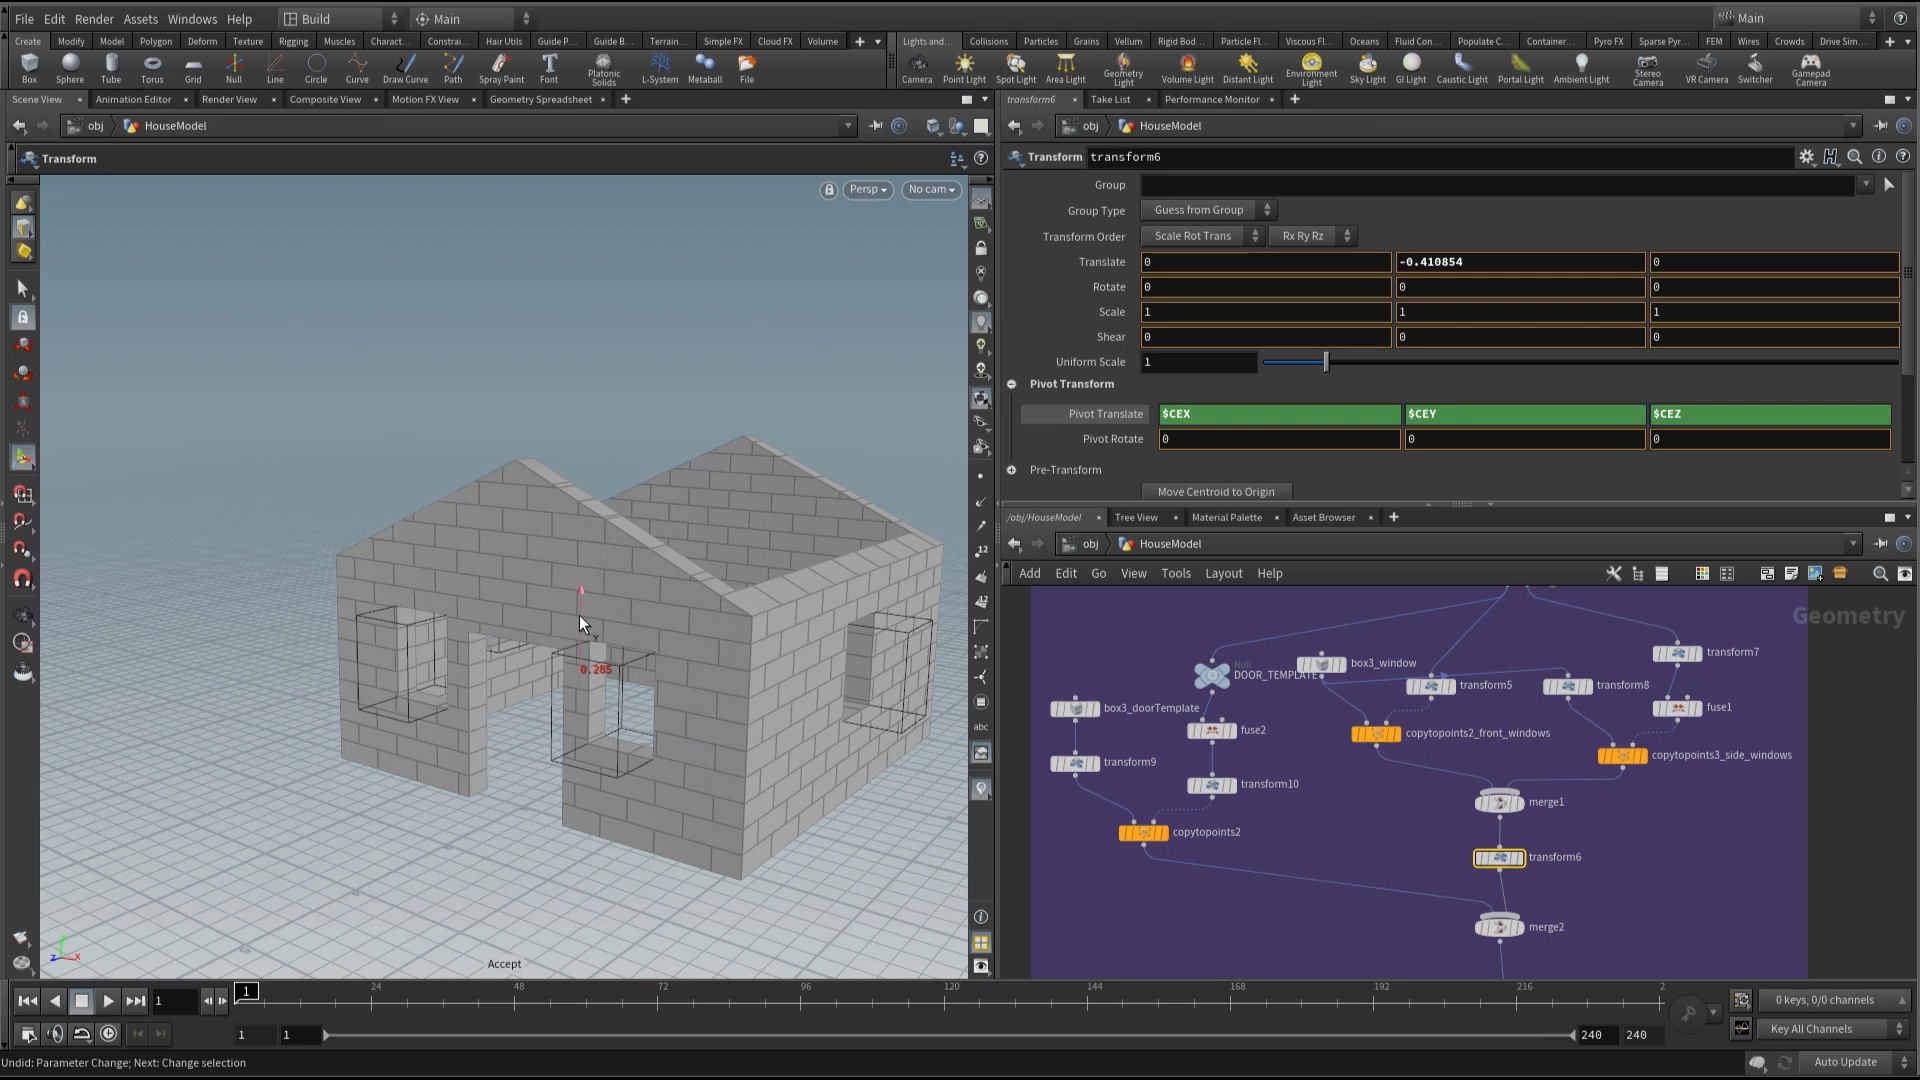
3 | Cut Out the Windows & Door
Create a system for positioning the windows and door against the basic shape of the house then use the same for-each loop technique to cut them from the bricks.
Length: 20:13

4 | Add Stone Bricks
Give your bricks a stone look by converting them to VDBs then using an attribute VOP to agitate the points on the surface of each brick. You will also set up UVs to prepare for texturing the geometry.
Length: 13:27
5 | Create Window Frames & Pane
Using the shapes created to cut out the windows, you will build frames and then window panes that fit perfectly. These will procedurally update if you change the house, or if you reposition or resize the openings.
Length: 30:49
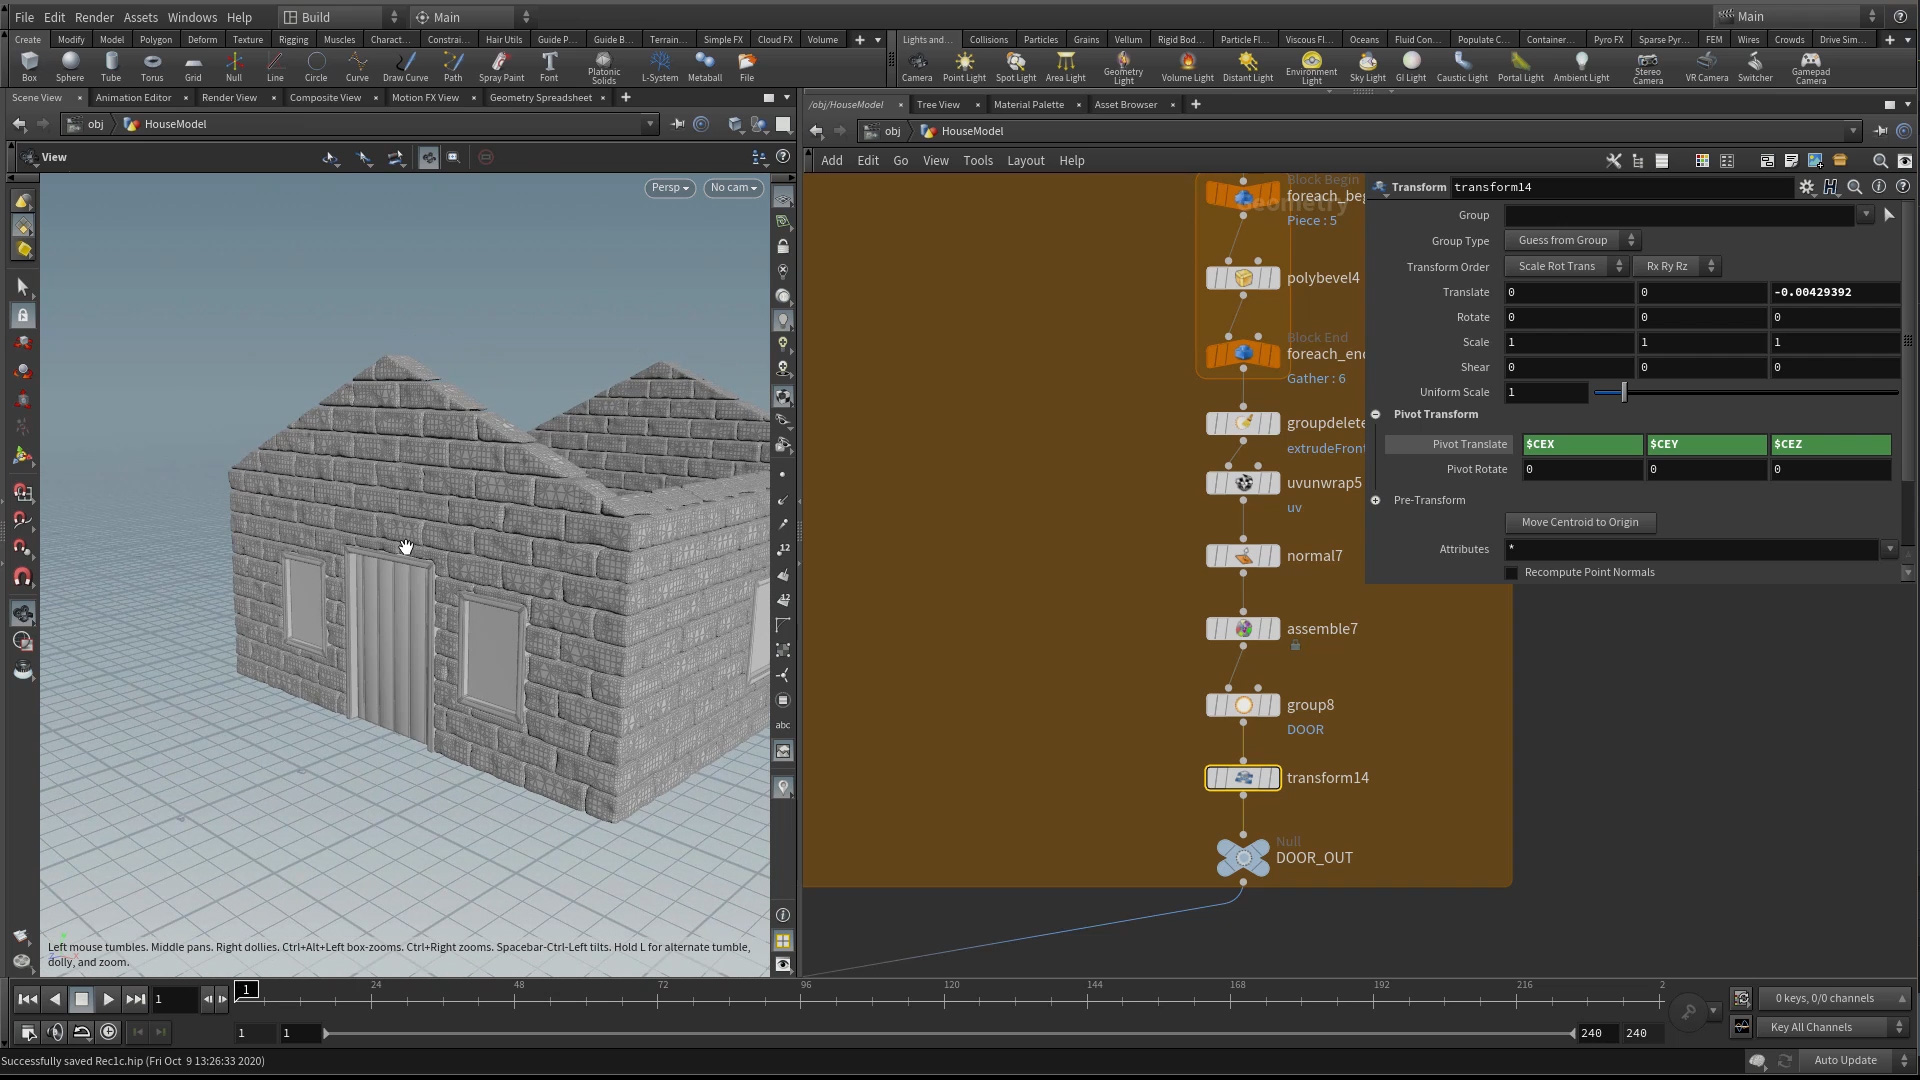
6 | Create the Door & Door Frame
The technique used for the windows will be used to generate the door frame and then a door made up of planks. These elements will also be set up with UVs for texturing.
Length: 22:36
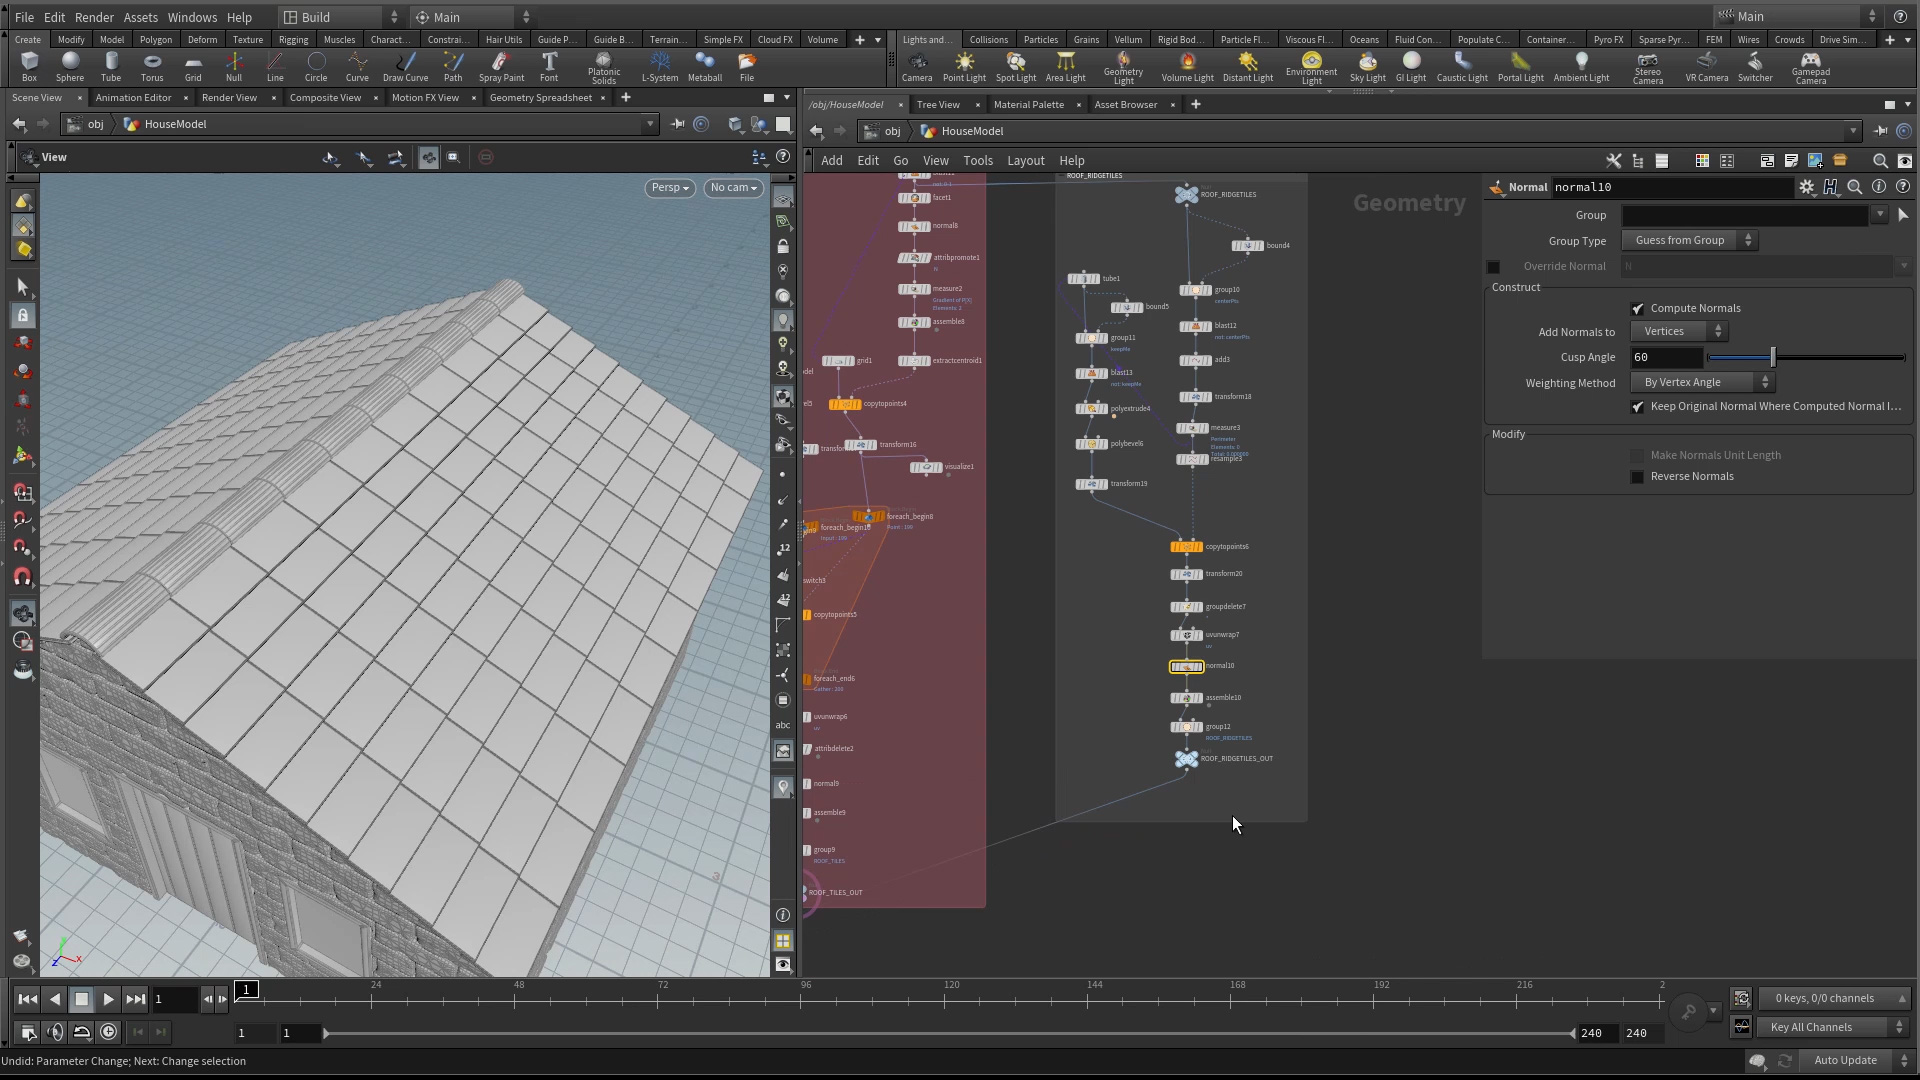
7 | Add Roof Tiles
Since the angle of the roof might change, special techniques are used to extract lines for copying the tiles and then to properly orient and place them on the roof. Ridge tiles are then built for the roof peak and all of the elements grouped and organized for adding materials and destruction.
Length: 47:30
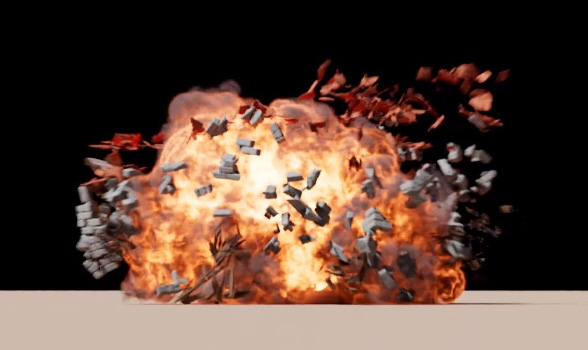
CONNECTED LESSON:
Once you have the house, you can move on to the Destruction FX shot to fracture up the parts and destroy the building with RBD and Pyro FX. You may find it a bit more fun to destroy the house compared to building it.
CREATED BY

COMMENTS
Petty 5 years, 7 months ago |
Great tut, thanks. As a newbie this is gold :)
spoonvfx 5 years, 7 months ago |
That's great...pleased that it helps you.
MULK 5 years, 6 months ago |
As a Technical artist moving to Houdini from Max/Maya, I found this very helpful. It was well explained, but a couple of things threw me, but I was able to go back and fix them in the nodes, which was a great ability.
melong8608 5 years, 6 months ago |
this is an amazing tutorial. thank you so much
Alvaro G. Perez 5 years, 5 months ago |
Thanks a lot, Mark, for this amazing tutorial. I've learned a lot with it.
When following the tutorial, in part 05 "Create Window Frames & Pane", for the windows' glass panning, I have avoid the Foreach node (and all nodes in its bubble), to optimize a bit, by replacing all content in its bubble by an Attribute Wrangle node with the following content, and setting the value 0.131 in the Translate_Size channel created:
float epsilon = 0.000005;
float translate_size = ch("Translate_Size");
if (abs(v@Nswitch.x) > epsilon)
{
@P.x += translate_size * v@Nswitch.x;
}
if (abs(v@Nswitch.z) > epsilon)
{
@P.z += translate_size * v@Nswitch.z;
}
frix 3 years ago |
I think this could be done a lot simpler by also adding just a peak sop before extruding the window glass and use that to control the position of the glass within the frames.
But yeah I think for tutorial purposes it's nice to see other options.
Palikkalamppu 1 year, 8 months ago |
You can also just capture the normal attribute and then inside attribute VOP displace along normals and the Displacement Amount will be your transformation.
spev 5 years, 5 months ago |
Absolutely right..Great alternative. Will certainly help
DylanLaw1350 5 years, 4 months ago |
i appreciated this very much, but for this projcect in particular, is it possible to randomise UV textures per brick? i have spent a while trying to make each bricks texture different to the last, but am having no success. any links to how this will be solved for this particular project would be greatly appreciated.
K Pavan 5 years, 2 months ago |
may be use uvtransform sop inside the for each after the uvunwrap and
use the detail iteration attribfrom for each meta data node to get the variations (need to get through the spare parm to not break the compile) or
create an i@uv_ramdom= @class (connectivity sop to get class attrib) before for loop and so with point attrib it can be varied again get through the spare parm to not break the compile
K Pavan 5 years, 2 months ago |
i@uv_ramdom= fit01(rand(1.0*@class),0.1,1) or what ever output length variations u may needed
K Pavan 5 years, 2 months ago |
correction for the data type f@uv_random= fit01(rand(1.0*@class),0.1,1) or what ever output length variations u may needed
Please log in to leave a comment.